Spring 2023 Homestead Tour Videos

I know it’s been a long time since I’ve posted anything here, but just in case anyone is still checking this out. I’ve been creating a decent amount of content for my job, which leaves me not wanting to spend my free time doing this as much. On the other hand, I’m gradually getting better at video production and narration so I can put that to use here.

These videos are very lightly edited, mostly free-form. To be honest, I mostly do them for myself as one way of tracking progress over time on the property. But hopefully you’ll find it interesting to see what we’ve been up to lately as well and see various new projects we’re working on.

Spring 2020 Homestead Preview – Back Garden

I wanted to complete this series of videos by showing progress in the back garden. Almost getting into summer at this point, but we’re still getting things planted here and there. Still have a handful of seedlings in the greenhouse finishing up that aren’t quite ready to plant out.

It’s been really hot here, the better part of last week saw highs in the upper 80s and 90s. It may have even cleared 100 one day. Kristin is saying we moved to a place that is too hot. All joking aside, the typical Vermont year sees about 4 days over 90 and we’ve already had 6 or 7. To compound things, we’ve gotten almost no rain as this high pressure system is very strong and persistent. Typically you would get thunderstorms when it’s this hot, but other than a bit of messing around on Saturday afternoon, even that hasn’t happened. This week doesn’t look much better until next weekend, at least as far as rain. I’ve been having to water something every day. At least the tomatoes and peppers like it.

Spring 2020 Homestead Preview – Orchard

This will mainly be a short post to point to the video I made for this, but a couple of notes. I was looking at some photos from the very first planting (2014) and it was a bit surreal to see how empty this space was at the time. We planted a lot of trees the first three years and then slowed down a bit. We’ve lost a few. Figured out the lower end of the slope is just too wet for apple trees to thrive, so going to discontinue using those spots. I’ve tried a few trees there, none of them are happy. This year I moved up to the top of the slope and out towards the swale a bit more. I think those will do better.

We’re also trying cold-hardy peach and apricot this year, as I probably mentioned elsewhere. These are not in the orchard, but on the northwest side of the house where there is a lot of shade in spring and the ground warms slowly.

Also, this year I bought some root stock and I’m going to try to graft a few trees myself. If that doesn’t end up too terribly, I’ll try to show some pictures of that at some point.

Spring 2020 Homestead Preview – Windbreak

Here is the second video showing the windbreak area we’ve been trying to establish on the northwest to north side of our house. It’s probably going to end up being a visual or noise break more than a windbreak. It won’t quite be tight enough to completely break up the wind, but hopefully will at least disrupt it a bit. The wind on this side of the house hits our bedroom directly and there are always some nights every year where it is so loud it is hard to sleep. In addition, we actually get a lot of road noise from the main road running not too far from our house. So trying to break that up a bit as well.

Initially, we planted a few evergreens and those are the oldest trees. A few years ago, we worked with a local agro-forestry expert to come up with more of a plan. The result of that is the two lines of trees you’ll see in the video.

We’re also hoping to start to fill in some of the space between the house and the windbreak with edible landscape plants. Hoping the shelter of the trees starts to create a bit more of a micro-climate, with some wind protection and temperature moderation. I’m also still on a quest to reduce the amount of lawn on the property and replace it with more diversity. Gradually moving towards a more permaculture way of approaching the landscape.

Spring 2020 Homestead Preview – Front Garden

As we start to make progress on transforming our property, I thought it might be interesting to video the state of things here at the start of spring. I’m planning to do several of these videos focused on different parts of the property.

This first one is showing what is going on out in front of our house. The front garden has been problematic, although we’ve been able to do some good things with it. It generally ends up overtaken by weeds by the end of the summer. Because this used to be pasture, there are well established rhizomic grasses that like to run about 6-12 inches under the soil. The grass shoots then pop up everywhere and unless you get rid of the roots, it just comes back. I’ve tried doing major digging and weeding to pull out roots, but it’s a bit of a fool’s errand.

There is also some sort of low ground-cover weed that probably came in on wood chips originally. It also has a rhizome growth habit. Between these two weeds and the heavy clay soil, it’s been frustrating. I should’ve listened to my wife and cover-cropped it for a few seasons before trying to plant there. Although with all the grasses underground, it wouldn’t have completely solved the problem. I just purchased an EGO edger, mainly for our flower beds and other beds in the lawn. But it might help here as well if we can cut off the traveling roots.

As I mention in the video, we’re going to use this more for perennial food bushes, possibly growing tree starts and then try to use raised beds and hugel for anything seasonal we grow. I also think the hardscape around much of the boundary of the garden will help keep the lawn from encroaching quite so much.

Kicking off 2020

Well, just a note to say I haven’t disappeared. I had a very busy 2019 with work that involved more travel than usual. As a result, I barely had time to keep up with the garden, much less blog. Still had a pretty good year as we continue to move toward a more permaculture and less structured approach.

What that meant for this past year was more hugelcultur, which we continue to see good success with. We’ll probably add some more mounds this year. Also additional raised beds. At this point, we are doing very little traditional row gardening at all.

The other thing I started working on last year was basically putting hardscape around the beds and edges of the garden. Not fully done yet, but got a good start going. I didn’t want to do this for a long time as it involves basically giving up on any exposed soil that we don’t have things planted in. However, the reality is we spend way too much time weeding garden paths, the edges of the garden where the lawn encroaches and other areas mainly used for plant access and not for actually growing anything. That’s not the part of gardening I enjoy. I would rather spend time weeding just around actual plants, harvesting, amending the soil and so on. Practically, what I mean by hardscape is landscape fabric/weed barrier covered with stone. This has the added advantage of looking nice, keeping surrounding lawn from moving in and also may act as a heat sink to keep the overall garden micro-climate a bit warmer. Not sure on that last one, but seems reasonable.

I also finally started working on a dry stone wall last year and will continue this spring. I took a class a few years ago, so I know the basics. Don’t have much practical experience though, so I have a more experienced stone mason helping out. It’s been slow, but rewarding. The first wall is running along the back of our rear garden. Pictures to come as we start working on it again. We should have the first run of about 25 feet done this spring. It’s fairly short, about 30-36 inches tall. Looking very cool already.

Last weekend I did my first round of seed starting, so the 2020 growing year has begun. Hope to provide more updates this year than last.

How Does the Garden Grow–July 2018 Edition

Well, as usually I’ve gotten crazy busy this summer (even work has taken a turn recently) and haven’t blogged about progress as much as I wanted. To set the stage, we’ve had a super dry and hot summer here in Vermont. Almost the polar (or should that be solar) opposite of last year. As is the nature of all gardening, you adapt from the previous year and get a different year. The good news is hugelcultur and permaculture are built for adaptation. The raised beds on the other hand can get a bit dicey if there isn’t enough moisture. We’ve definitely had to do some irrigating.

I’ve added some soaker hoses into the mix in addition to our overhead sprinklers. Ideally I would love to just do drip-style watering, but it’s a big pain to get set up and particularly with our winters, trying to do anything permanent is probably going to just lead to frustration. Even if you attempt to blow out and drain everything. That being said, soaker hoses are cheap enough that I’m experimenting with laying them down once and just leaving them in place. This seems to work particularly well if I run a hose along the top of a hugelcultur mound, so I’m going to keep experimenting.

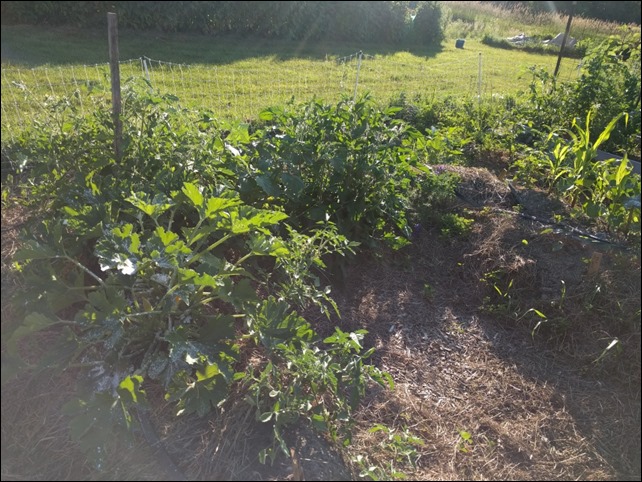
Anyway, the main point of this post is I want to show the crazy growth on our main hugelcultur mound with some before and after pictures.

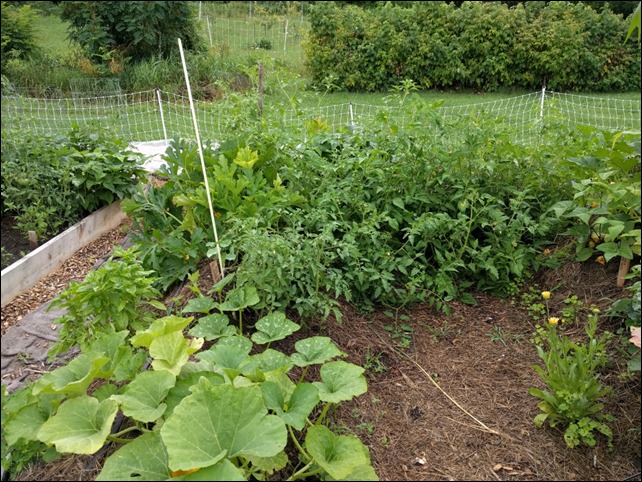
Here is the main mound on the 4th of July.

Hugel_20180704_1

Hugel_20180704_2

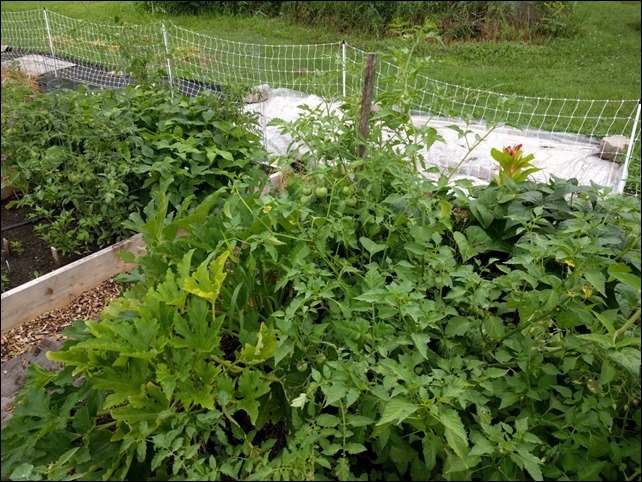
Here is the mound as of this morning. The crazy growth in the back consists of a couple of tomato plants, some tomatillos, basil, beans and maybe a pepper plant.

hugel_20180727_1

Here is a closer view

Hugel_20180727_Close

And here is a view from the side

Hugel_20180727_Side

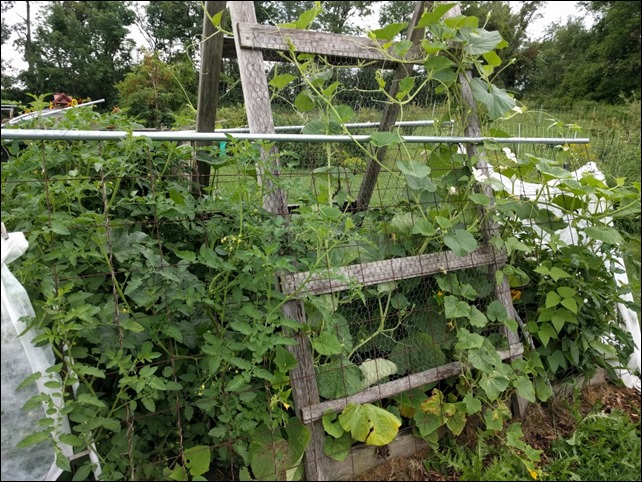
In other news, here is what happens when you plan too much stuff in a raised bed with stuff that likes to grow up and everything starts getting happy together.

BackBed_20180727

If you want to see additional unedited pictures of our garden this year, hop over to this gallery.

Completing garden prep

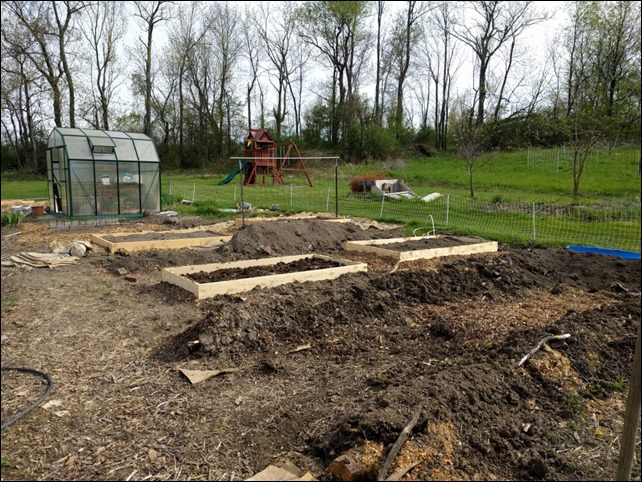
For those of you waiting on bated breath to hear how we are progressing on our garden changes, I have an update for you. We are nearly done building the new raised beds and the hugelcultur mounds are now covered with dirt and ready to use.

Here is the latest mound partially covered in dirt. We really like how it turned out. It’s a U shape, so definitely looks very organic and naturalistic. Not a typical vegetable garden look.

hugelprogress2

We have already started planting a few things in them. As it is the first year, we aren’t sure what kinds of plants are actually going to do well so we are experimenting as always. We do have the mound we started last fall that is already breaking down nicely. We are going to try some melons and squash in that one. It’s back away from the garden in a corner, so if any of those plants decide to travel around we can just see what happens.

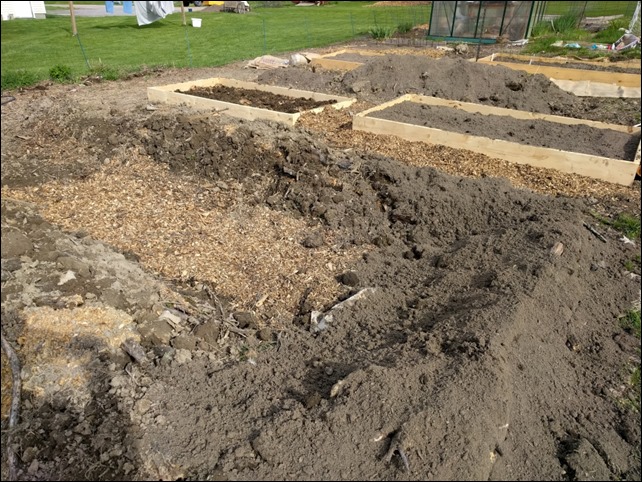
Here you can see more raised beds filling in the rest of the open spaces in the garden.

hugelprogress3

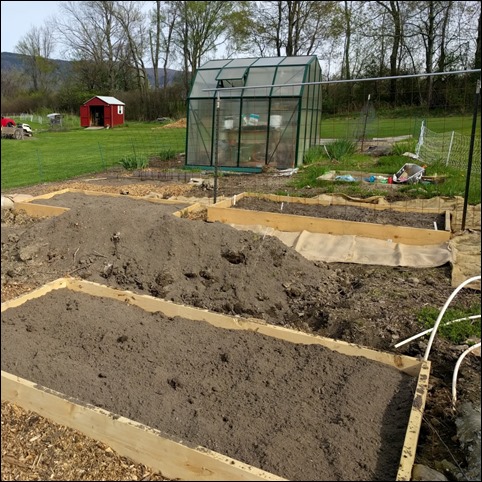
And one more view to give you more of a full picture.

hugelprogress1

There are still a few spots that are a bit wide for a walking space and we are putting a few more typical rows. These are trenches filled with rotted cow manure and covered with good garden soil. We are also doing a similar wide row at the end of one of the mounds except that one has a layer of wood chips underneath. So we’ll try and see what happens.

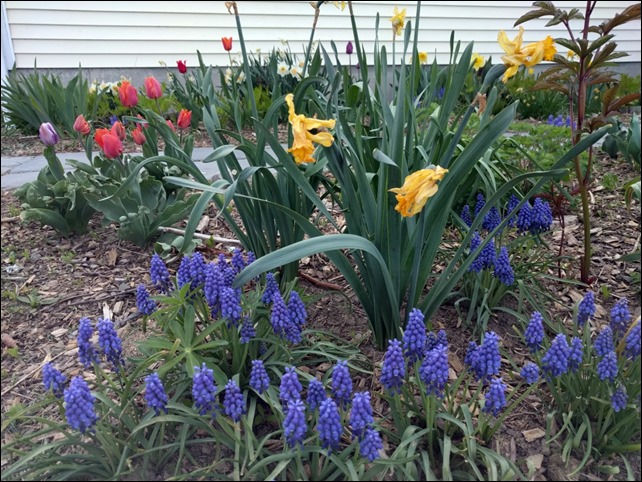
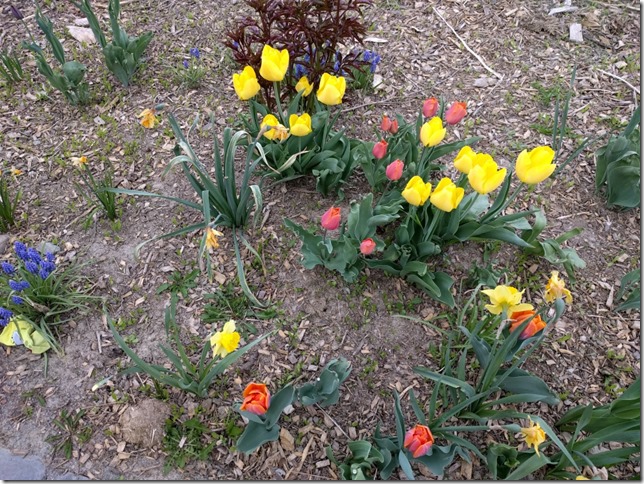
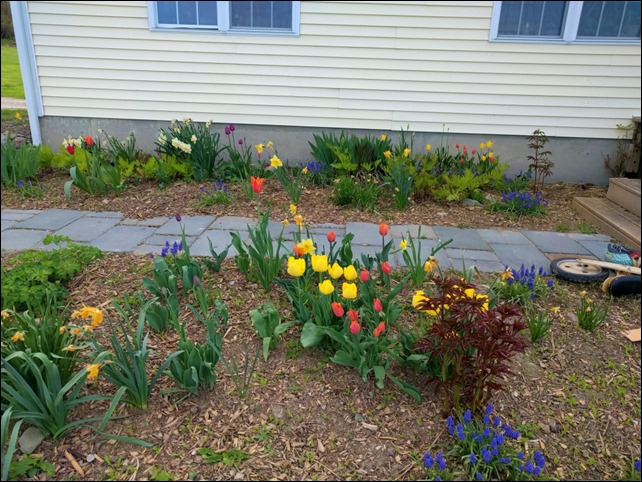
On a side note, we planted a bunch more bulbs last fall in front of our house and it has been absolutely beautiful the last few weeks. Here are some samples:


Hyacinths

Tulips2

Tulips1

The Property is Waking Up

We just got back from a lovely family trip to San Diego. It was just finally starting to feel like spring and warming up when we left. I went for a walk around the property this morning and it’s just so fun to see everything responding. Here’s the short list:

  • Daffodils giving way to tulips and grape hyacinths
  • Peas poking up that we planted shortly before leaving
  • Lots of green growth and leaves on the raspberries. Little raspberry plants popping up in the grass all around as well.
  • Hops starting to put feelers out
  • All our fruit trees are budding, including the 5 we just planted. Good sign!
  • A broody duck and a broody chicken
  • Mint is back
  • Asparagus is finally up

Garden Work In Progress

As I mentioned in my last post, we are transitioning much of our gardens to raised beds and hugelcultur. We are currently building our hugelcultur mounds, so I thought it might be interesting to show the progression.

IMG_20180422_165916

We usually try to start with cardboard. If you are building on top of grass, you will probably want to build a trench first. We start with larger partially-rotted logs from our woods. You can also use freshly cut logs or a mix. Just depends what you want.

IMG_20180422_165956

By using partially rotted logs, we’ll get things rolling  a bit faster and we won’t need as much nitrogen to break things down. Plus the logs should already have lots of good fungal and other micro-organism stuff going on. The down side is the lifespan of the mound will be shorter as everything will break down more quickly.

After the bigger base logs are in place, we add smaller branches, twigs, leaves and other stuff we can grab from the woods. We’re also growing to throw any organic material we can find on top. This might be shavings/manure from our coops, wood chips, compost, hay or straw, some of the well-rotted cow manure we got from our neighbor and so on.

IMG_20180424_180906

You basically want to saturate all of this stuff with water. One way is to use a soaker hose, particularly if you don’t want to stand there watering by hand for minutes at a time.

IMG_20180424_180927

Or you can take advantage of the rain as you build as we are doing today. Just depends how fast you are putting one of these together.

Once we’ve piled up all the material, you cover the whole thing with soil and you can plant stuff right away. It’s better if you build this a year in advance or maybe the previous fall. But you get some benefit even the first year.

Subsequent years should just get better and you can continue to add more organic material to the top of the mound each spring.

As far as our raised beds, here is one of those in progress. Our basic plan is cardboard at the bottom, then a layer of wood chips, preferably some manure or other rich nitrogen source and then soil on top. I’m curious to see how well this works. May have to play around with nitrogen levels the first year. I started a few of these last fall with just the chips and manure and I’m already seeing some nice breakdown this spring.

IMG_20180422_170003

Here are a couple more ready to plant, with our trellis system installed over the bed.

IMG_20180424_180848