Simple DIY mini greenhouse

Last year I was looking around for a small greenhouse I could use for seed starts and hardening off plants.  There are a number of small ones with a few shelves and a plastic cover.  When I saw how simple they were, I didn’t see the point in spending the money.

8699832316_6b144ae143

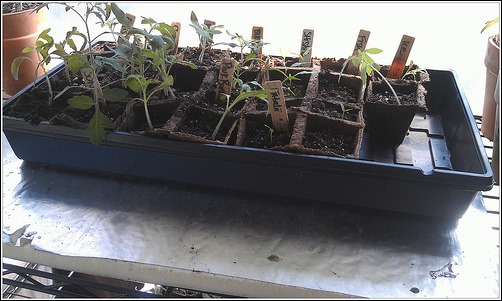
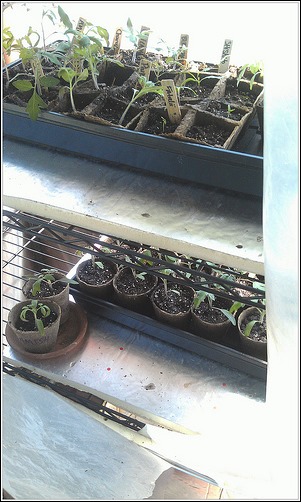
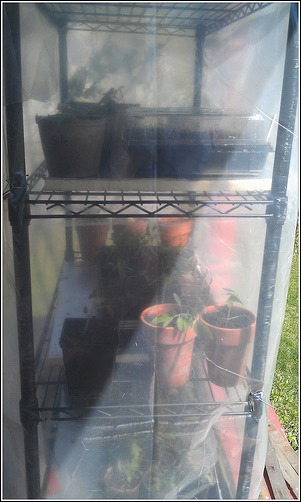
We already had a few of the wire rack shelving units that you can buy at a lot of places like garden/home supply stores, Target, etc.  I was already using one to start seeds in the basement, so I knew the general layout would work.  So I just bought some greenhouse plastic and basically wrapped one of those racks.  I fastened the plastic to the rack using wire along the vertical supports.  The plastic is thick enough to hold for the most part, although obviously it tears a bit over time.  It doesn’t have a nice zippered front on it, but other than that it’s the same principle and costs a lot less.

I used it a bit last year, but did have some issues with wind on our front porch.  This year I have a sandbag on the bottom rack and some clothesline fastening it to the porch railings.  That seems to do the trick as we’ve had some pretty good wind storms since I put it up this spring.  So far so good.

8699837282_901a52889a

It’s working really well to start cold hardy plants and I’m also hardening off other plants that I’m starting in the cellar.  It gets nice and warm in there and doesn’t seem to dry out too fast.  The other trick I added this year is some foil covered insulation board to reflect more light from under the starting trays.  I’m also doing this in my basement underneath the heated seed starting mats I have and it seems to make a real difference.

8698717751_e649e1b72d

Seed starting tip for peas

I think I mentioned this last year, but wanted to throw it out there again. You’ll find this noted elsewhere online, I found it last year when growing peas for the first time.

Since peas can be started so early (apparently sometimes they will even sprout and grow through snow), the soil conditions can be all over the map. So I sprout my peas indoors first. It’s really simple. Take some paper towels or cloth and get it moist, but not wet. This year I used an old diaper. Put the peas inside. They like to roll around, so it can be helpful to roll up the sides in some fashion to keep them in. Put the paper towel or cloth inside a plastic bag or really anything that can hold some moisture in. I find a gallon ziploc works great and we always have used ones around. Just leave enough of a gap in the container or bag for some air to get in and out. You are basically making a little greenhouse.

After a couple of days, start checking them. As soon as you see sprouts you can plant them outside. Be careful with them at this stage as the little sprouts can be pretty fragile. If you break them off, that seed is done.

They seem to like a diaper better than a paper towel because this time a bunch sprouted by today, probably 60-70%, and I just started them during last weekend. Some of the sprouts actually grew through the diaper cloth. They are ready to go!

Sights of Spring

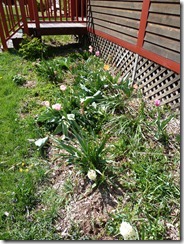
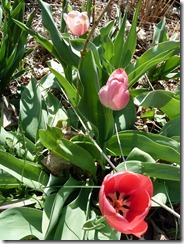
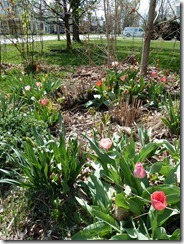
Not a lot of big new projects lately, due to visits from friends and traveling.  But still continuing to get ready for summer.  Lots of seed starting, both indoors and out. And a sudden explosion of color around our rental property as the huge number of hidden bulbs suddenly make their presence known.  It still seems magic every year after the gray of winter.

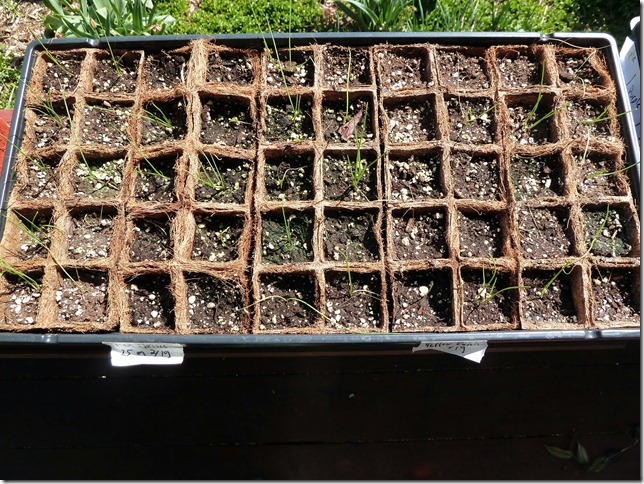
P1000990Onion starts.  This is the first time we’ve ever tried doing onions from seed.


P1000991
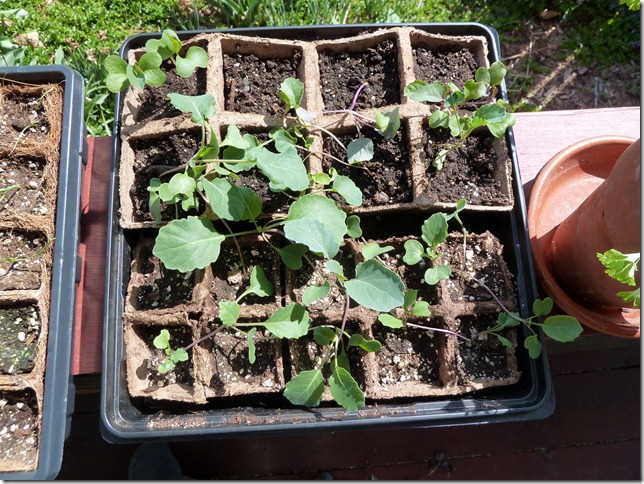
Various brassicas


P1000995
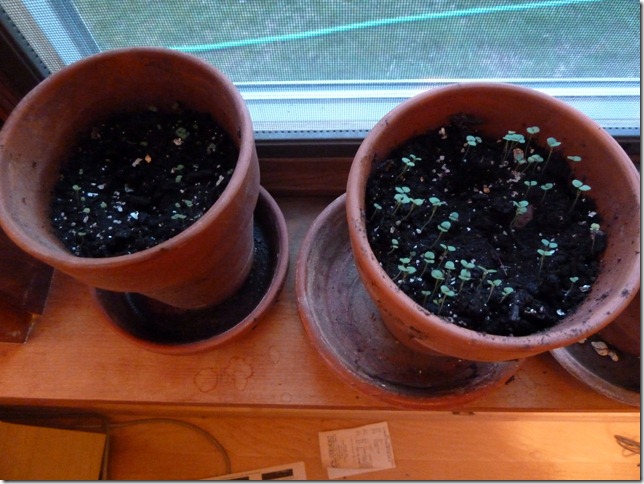
Windowsill pots of oregano and thyme


P1000996
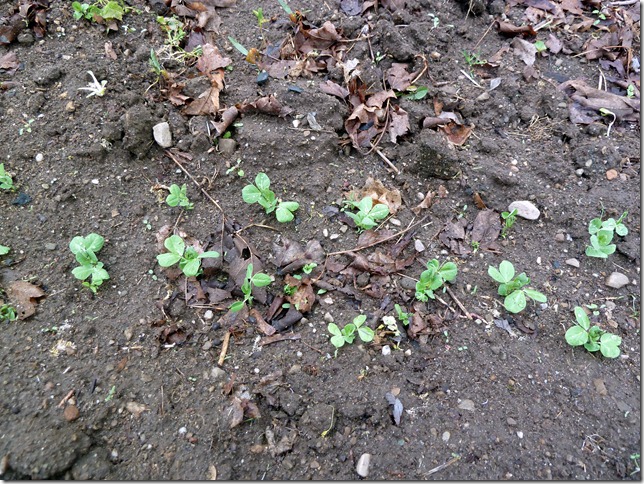
Peas!  We are attempting two regular types and two snow/snap types.


P1000997
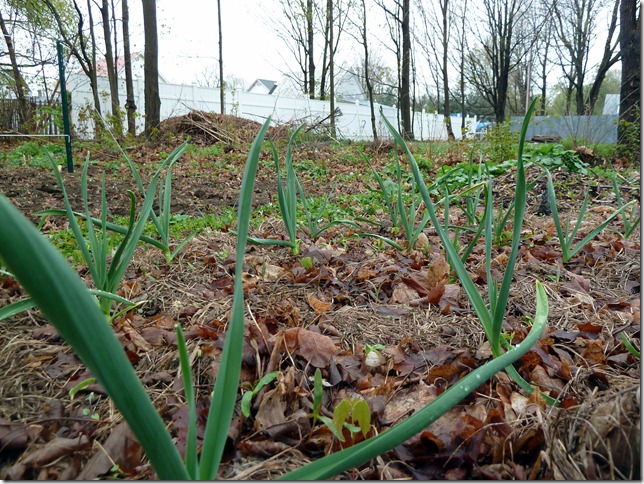
The garlic we planted last fall is looking fantastic.


P1000998
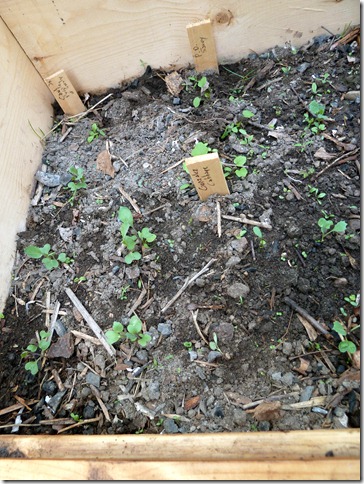
Various brassicas inside the cold frame. We will transplant these out.  Comparing how this works with starting inside.


P1010003
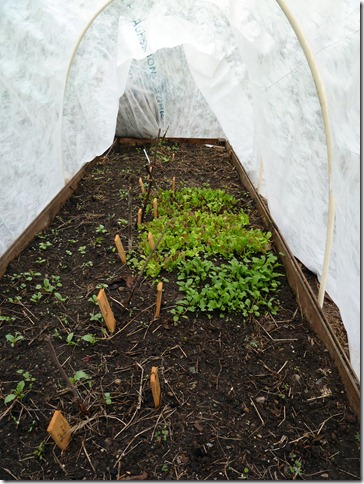
A view inside the hoop.  The big splash of color you see is various lettuces and arugula.


P1000994P1000993P1000992

Tulips, daffodils and other lovelys.

Seed starting

I’ve been fairly heads down with all sorts of projects.  Spring is trying to come early this year in Vermont, in fact it is supposed to be in the 60s and 70s all this week.  We had a beautiful weekend and I got some more things planted in the low hoop tunnel and also in the new cold frame I just put together.

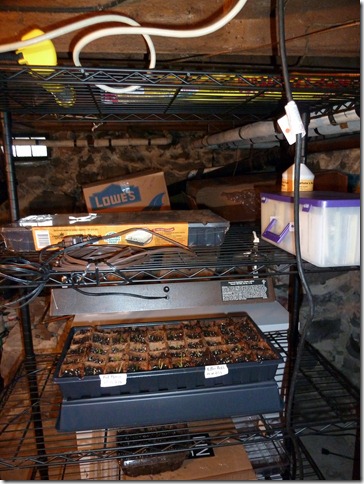
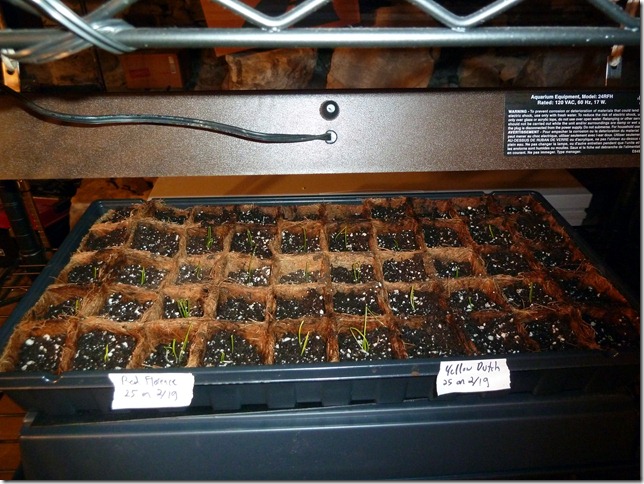
I’m also attempting to start some seeds in the basement.  I scrounged together a system using mostly stuff I already had.  I already have some wire racks that are great for all kinds of things, including storing homebrew and equipment.  I also had a couple of aquarium fixtures with working lights, so that is my light source for now.  I think I’ll likely have to upgrade to a) bigger lights and b) better bulbs (more full spectrum) to get great results.  But trying this first before I go spend a bunch of money.  I did buy a heat mat, some seed starting trays and a little fan to circulate the air around the plants and help them develop decent stems.

Here are a few pictures:

P1000917

The whole set-up.

P1000918

Starting with onions, they take awhile to get going.

P1000919

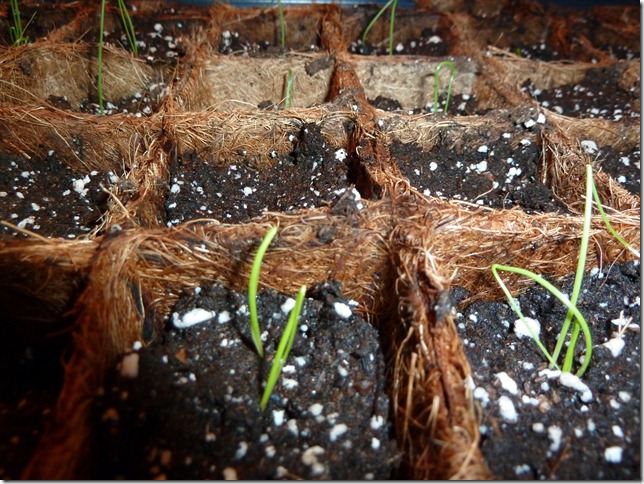
A few seedlings poking through.

I’m curious to see if I can use the cold frame outside to start some seeds as well.  One nice thing about that is the plants get used to the soil immediately and there isn’t much in the way of hardening off that you need to do.  But you definitely have less control over temperature and environment in general.  So I’m just going to try some of each and see what works.