2012: The Season In Review

So our first gardening season in Vermont is pretty much over, although we still have a number of things under tunnels again.  Looks like we may have some cabbage, carrots, beets, chard and a few other things.

Overall, we are pretty happy with how things went, although we still have a lot to learn.  But considering I haven’t worked a garden this big since I was a kid, I think we did okay. We mostly kept up with weeds and getting things picked. One thing we didn’t expect to struggle with so much was the insect pressure early in the season.  We had certain crops we planted multiple times and still didn’t get anything going. Next year we will probably use more row cover until the plants get established.

The good

  • Peas –  got a decent little crop early on, both shell peas and snap peas. We only had one row, so not enough to get much. Definitely want a lot more when we have some land. Had better luck with pre-sprouting the peas before planting than seeding directly.
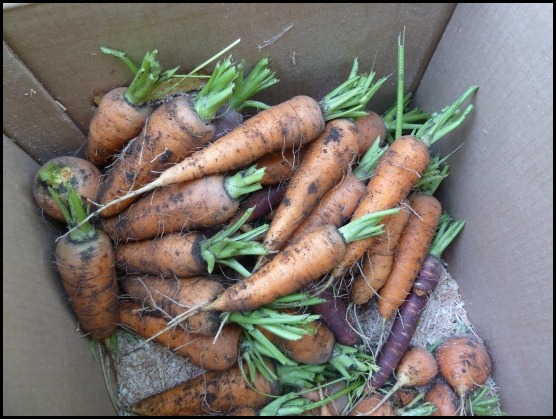
  • Carrots – Tried a bunch of different types and got a good yield eventually, but they take awhile to get going.
  • Tomatoes – Mostly did pretty well with these, although had some disease issues with certain varieties. Had some volunteer plants from the compost as well, mostly cherry.  We were able to dry and slow roast a lot and put them in the freezer.
  • Peppers – Once again, some of these took awhile to get started in the New England climate, but once they did we got a fairly prolific yield. Even the habanero we started ended up loaded late in the season, although it would have been nice to have a bit more warm weather for them to finish ripening.
  • Tomatillos – We only planted a couple of plants, but they grew over 6 feet tall and got loaded with fruit.  Once again a couple more weeks of hot weather would’ve helped, but Kristin was able to make a bunch of salsa verde anyway. The main thing we learned is even though the stems get pretty thick and woody, when the plants started getting loaded they needed extra support, particularly in the wind.

The disappointing

  • Cauliflower – We didn’t have great luck with any variety, but the Purple of Sicily from Baker Creek was particularly disappointing. The thing is, it was wonderful in every way except fruiting. It germinated quickly and at a high rate, was very hardy when transplanting, responded well to insect pressure and grew really large. So maybe it was the season or something we did wrong. I’ve heard cauliflower tends to do better in fall plantings since it likes it colder when fruiting, but didn’t get around to starting fall plants early enough.
  • Zucchini – Yes, really, even though this is normally one of the easiest plants to grow and you end up with more than you want. We tried planting this multiple times and the bugs kept getting it.  We finally go a few plants started in mid-summer, but they never did much.
  • Melons – Same thing, too much insect pressure for them to get going and they need a whole season here to do much.
  • Tomatoes – like I said above, we did okay for the most part. But the Brandywines succumbed to some sort of rust or blight and we got maybe one or two decent fruit. Plus the slugs would start eating them before they got fully ripe, so was hard to get one that was nicely sun ripened. This seems to be the story with Brandywines, they are notoriously tricky to grow. The Paul Robesons did much better and I like them just as much.

    The other plant that seemed to have disease issues was Stupice, although it is very widely grown.  In retrospect I don’t think I allowed enough spacing between plants and they probably could’ve have use both more air flow and pruning. Something to remember for next year.

  • Brussel Sprouts – similar to the cauliflower, plants looked great and never sprouted. Another one I think I’ll reserve for fall planting next year.
  • Cucumbers – we had some issues with cucumbers here that we never had in Chicago.  Same variety, but they formed stunted fruit that seemed to be an off shade of green along with some brown. I expect it is some type of mineral deficiency or something, but we never figured it out.  We did plant Mexican Sour Gherkins later in the season and they actually did great. But we were hoping for more pickling cucumbers of other varieties.

Well, there is a lot more I could go into, but that’s probably enough. I would like to post a list soon of the various food we were able to put up.  We’ve got a pretty nicely stocked basement now and should be able to have some food this winter from our garden. We aren’t close to being most self-sufficient in food yet and we’ll probably need more land for that, but we are another step closer to that goal.

How did your garden do this year?

Not toxic but tasty – Habanero Hot Sauce

I really love to grow peppers.  There are hundreds of variations, so there is always another one I want to try.  I tried to grow some habaneros in Chicago, but the little plot we had just didn’t get enough sun.  We were able to grow some Thai chilis and I actually think they may have grown better in a pot on our deck in Chicago than they did this year in our garden.  But that’s partly because I started the seeds myself and without a greenhouse, it’s tricky to get healthy robust plants that produce in Vermont’s short growing season.  The ones we did start are looking really great about now: tall, vibrant, healthy and loaded with fruit.  But we could get frost any day now.

I was able to get a great Fatali habanero to grow this year and we also bought a nice plant of some other habanero variety from Red Wagon Plants.  We also have jalapenos, cayenne, Fish peppers and Hungarian Hot Wax.  If you do get a lot of questions, then you have to find stuff to do with them. We’ve pickled some, put them in scrambled eggs and pasta and made salsa.  But the habaneros are a bit much for most of those uses.  They don’t get as hot here as in warmer climates, but they still pack a punch.

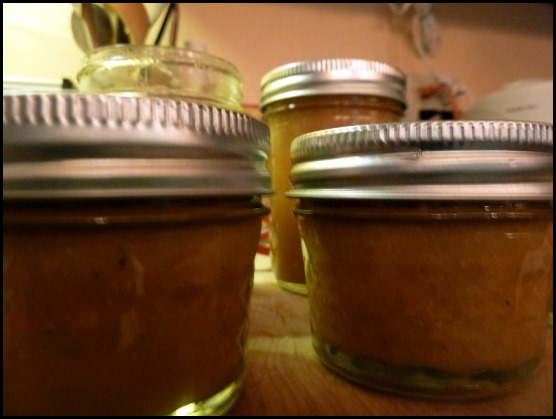
So yesterday we were canning applesauce and I decided to try to make some hot sauce while we still had the canner going.  After we were done with the apples obviously.  I really like carrot-based habanero hot sauces, but instance I fell in love with Marie Sharp’s “Belizean Heat” when I visited Belize a number of years ago.  So I tracked down a couple of recipes that I could can and ended up doing something like this Agent Orange Habanero Sauce, but without the mustard or something like this recipe.  In addition to the peppers, the carrots, garlic and most of the onion were all from our garden as well.

minced

So donning some gloves, I set to making the recipe.  I used a Cuisinart mini food prep for most of the chopping as I didn’t want to handle the peppers any more than necessary.  The air did get pretty pungent and it’s amazing how that stuff gets throughout the house.  Fortunately we were going out last night so it had time to dissipate.

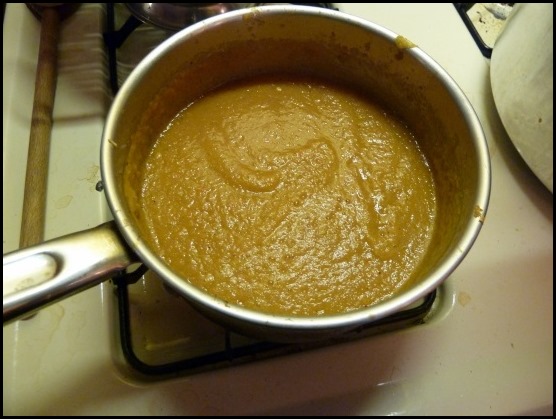
Here’s the sauce ready to put into jars.  I used an immersion blender to blend everything. The habaneros aren’t cooked, they are put into the mixture fresh after you boil and blend the rest of the ingredients.

hotpot

I’m actually very pleased with how it turned out.  It’s definitely very hot, but not unpleasantly so. I could actually taste a bit on a spoon without setting my mouth on fire for 20 minutes. The carrots add a bit of sweetness and the habaneros have a bright fruity flavor in addition to the heat.

hotjars

First egg

I was cleaning out the coop yesterday and found our first egg. Unfortunately it wasn’t usable because it had been there a bit and gotten cracked. I was expecting it to be a few more weeks, but our oldest hen Willow was showing signs, such as squatting down when you put your hand near her. So I’m not too surprised.

She laid it in the nest, so that’s good. The bad is the girls also think the nest is their sleeping quarters at night. The “nest” is just a wooden box that sits inside the coop, so we can’t close it up at night or anything. I guess I could try turning it around backwards at night and then right side out in the morning, but that might just confuse them. Probably not going to worry about it unless it starts to become a big issue. Biggest problem is keeping the shavings clean in there, so I’ll probably have to refresh that daily.

But the important thing is we are on our way to getting our own eggs, so that’s pretty cool.

Morning harvest

August vegetable harvest photo

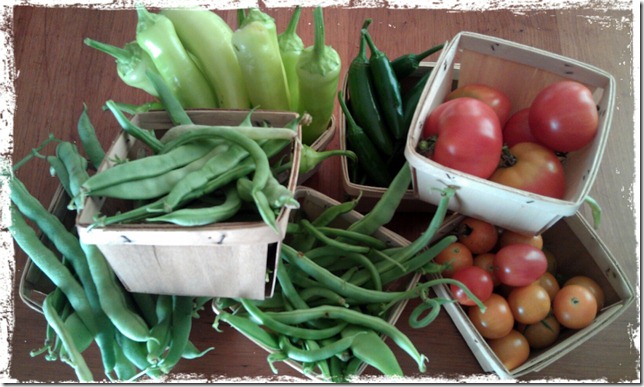
Quick harvest this morning before work. Various green beans, cherry tomatoes (mostly Sungold), Serrano peppers, Hungarian hot wax peppers, Stupice tomatoes

The harvest begins

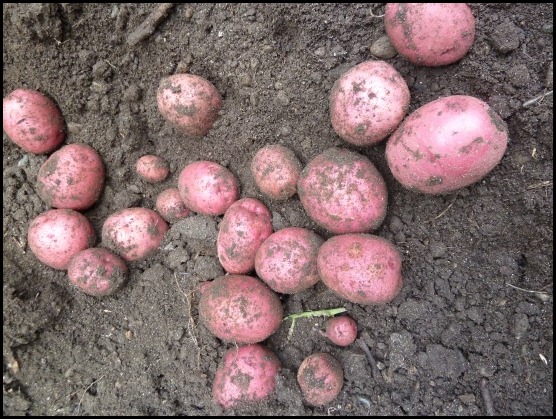
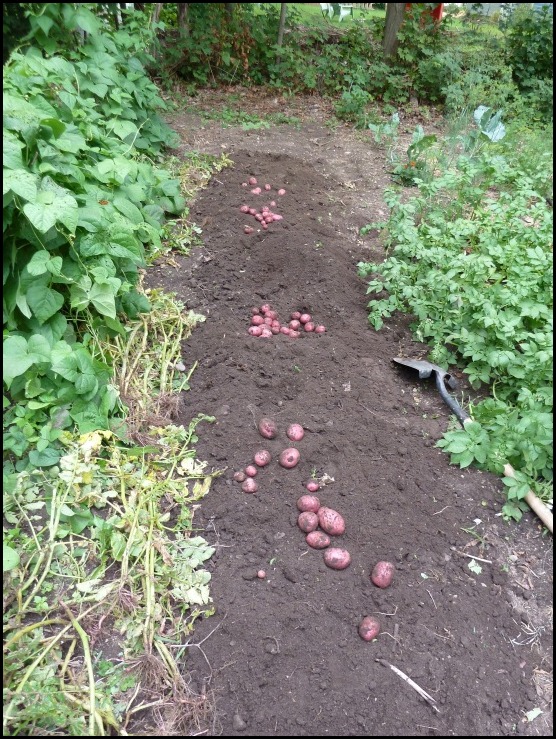
Looks like soon we will be heading into a busy time of harvesting, but we’ve already gotten a few things.  The first batch of potatoes was harvested last week; this batch was planted about 2 weeks before the main group of potatoes.  We are starting to get some tomatoes, although it appears we are fighting some blight or something.  Hopefully we’ll get a decent number before the plants go south.  We had a bunch of volunteer tomatoes pop up in the compost, but I think most of them are cherry.  Still, might give us some backups if the main plants don’t work out.  I am seeing some decent Brandywine and Paul Robeson on the vine, so hopefully they will hang on long enough to harvest.

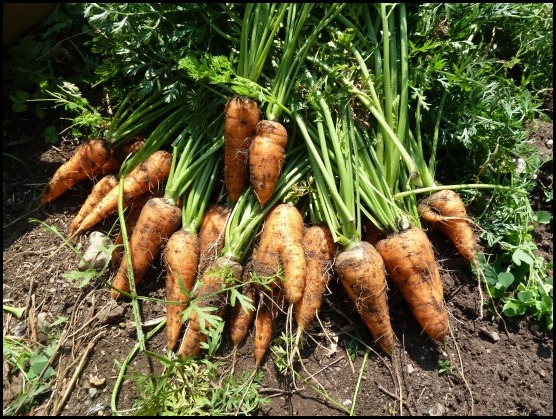
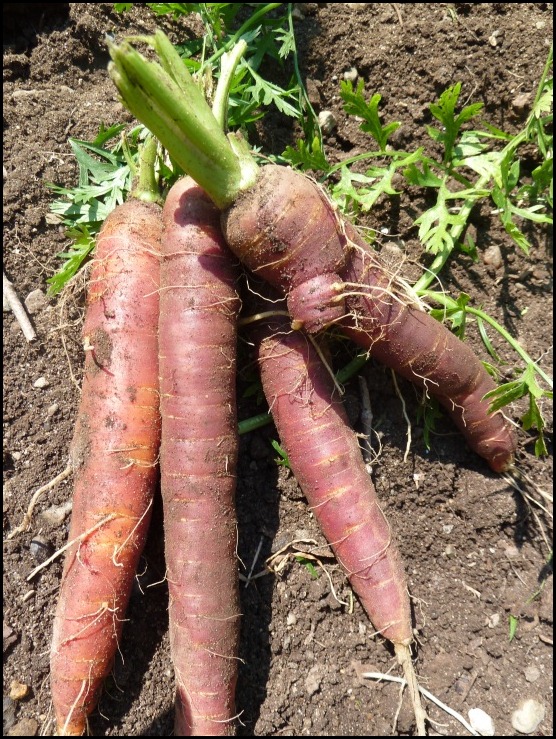
We’ve also harvested a row of carrots.  The best of the lot seem to be the St. Valery from Baker Creek.  We also had some Purple Haze, which look very cool, but tend to go woody and get a lot of roots if you leave them in too long.  I think the others are Napoli and Parisienne or Paris Market.  We are trying to keep everything labeled, but eventually the labels succumb to rain and dirt.

carrots1

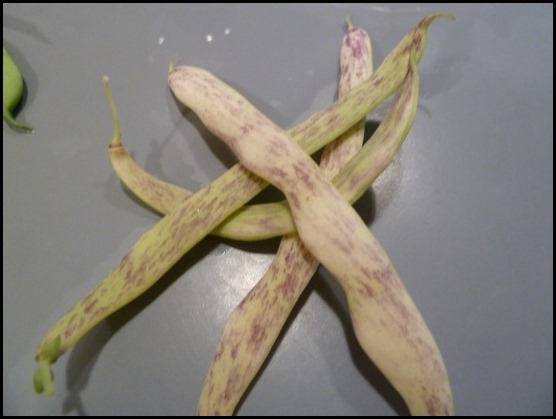
We are starting to get beans. We have 4 or 5 varieties, including some soybeans for Edamame and Dragon Tongue which is a cool purple striped Dutch heirloom that is pretty popular.

Anyway, this is starting to get long and I really just wanted to post some photos, so without further ado…

Red Norlands

rednor2

rednor1


St. Valery carrots

stval


Purple Haze carrots

ph


Dragon Tongue beans

dragon


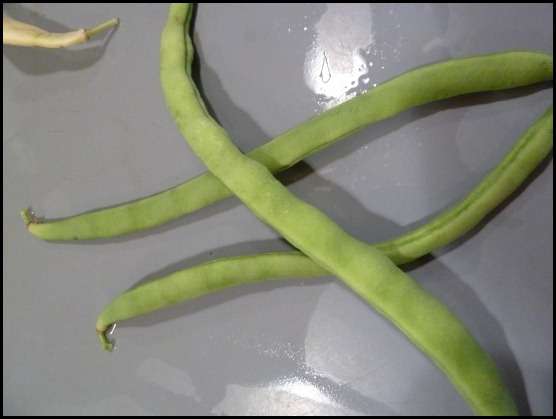
More beans (I think these are Kentucky Wonder)

beans


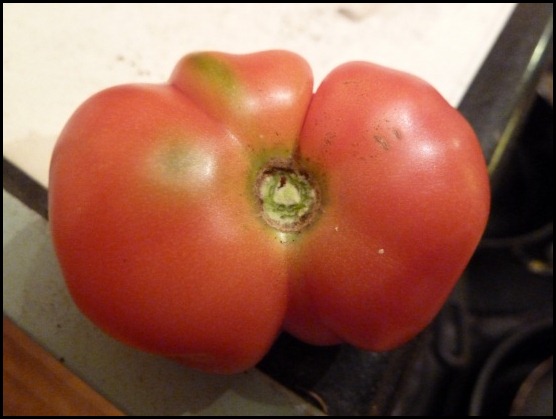
Stupice

stupice

Who needs a TV (when you’ve got chickens)

For quite awhile now, getting some backyard laying hens has been on our list of things to do.  We even thought about doing it in Chicago and it was allowed, but we just didn’t have the room. As I mentioned in my previous post, I was finally able to complete the chicken coop and so on Father’s Day we ended up heading out to a “chicken swap”.  We joined the Vermont Bird Fanciers group and they put on a number of swaps throughout the year.  It’s not just a swap, it’s really more of a place to buy all kinds of poultry, rabbits and other animals. In addition to chickens, we saw a number of different types of rabbits, geese, ducks, pigeons and guineas.

We ended up finding one vendor with a good variety of the breeds we were interested in and they raise them organically for the most part, so it was a good fit. We weren’t sure there would be a good selection, but actually it was pretty good. Since we originally wanted to start in the spring, I was looking for either pullets or perhaps hens that were already laying. There were plenty of pullets available and the ones we bought should be laying sometime this fall if all goes well.

I’m sure this isn’t original with us, but we decided to name the girls after characters from the Buffyverse.  So without further ado, introducing:

Buffy (Buff Orpington) – I’m sure we aren’t the first to do that.

buffy

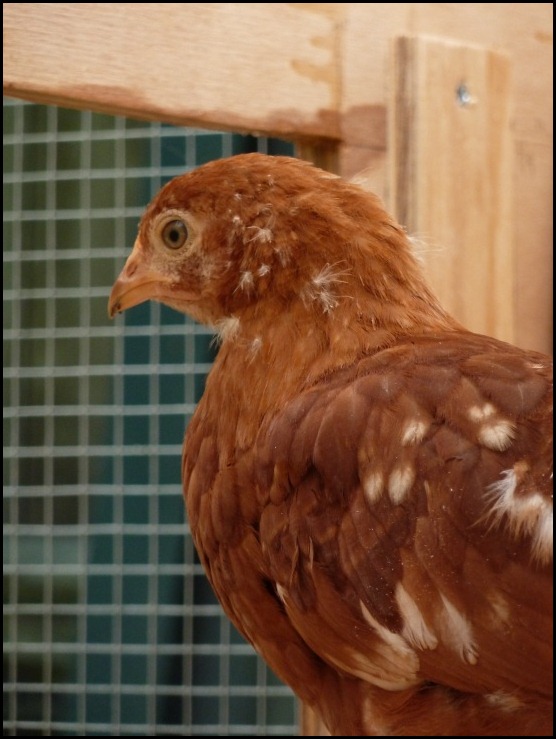
Willow (Golden Comet) – type of Red Sexlink (typically a cross of a Rhode Island Red rooster and a white hen)

willow

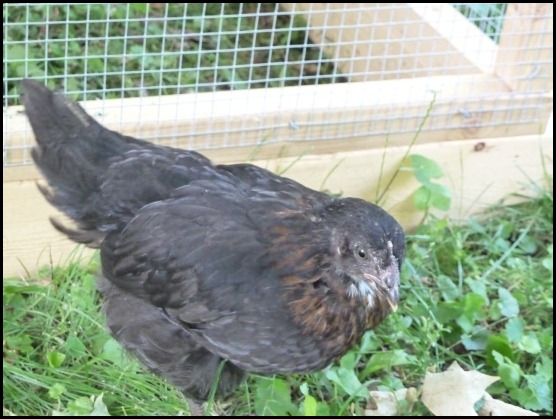
Drusilla (Black Star) – type of Black Sexlink (typically a cross of Rhode Island Red rooster and Barred Rock hen)

drusilla

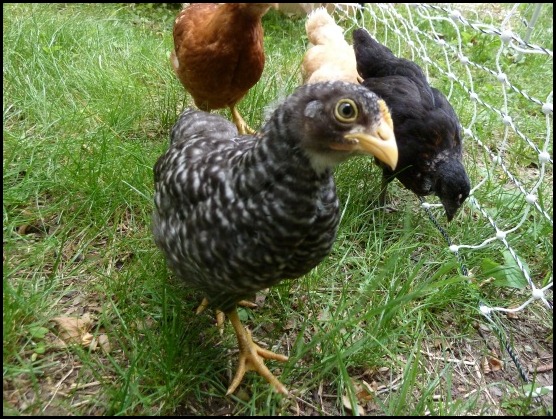
Faith (Barred Rock)

faith

Faith is the most curious and/or dumbest, depending on any given minute. She is the most personable hen and is very friendly, although she throws a fit when she is held. We think she may end up as the alpha hen, but not sure yet.

These hens pretty much immediately started foraging, scratching and generally acting like chickens should.  We put up some poultry netting (without power for now) and let them run around the yard and garden.  They figured out how to crawl through that almost right away, but once they are bigger it will be a bit harder.  They have already taken to exploring the garden and we are hoping to make them our bug catchers. After already bribing them with hand-picked slugs and other goodies, they seem to be getting the idea pretty quickly.

We’ve now had them about 5 weeks and they seem to be settling in just fine.  They are growing like crazy and love helping us with our Japanese beetle issues.  They are certainly a source of endless amusement and make weeding a lot more enjoyable.

Woodshop 101

When we first starting thinking about getting some land and possibly farming, one of the things I quickly realized is the importance of knowing how to do things for yourself.  A farmer needs to be a bit of a jack of all trades.  Honestly, knowing how to get around on a computer is a relatively minor one of those trades.  So I’ve been slowly trying to learn how to do some practical things for myself and one of those things is light carpentry and woodworking.

I didn’t get much opportunity to do that in Chicago.  There just wasn’t enough room for a shop or lots of tools or much to really work on in a small condo.  I was able to help a few friends with some remodeling here and there, which helped a bit.  Once we got the house in Bristol and I had the possibility of actually having a small shop again, I started to think about what kinds of things I could start with.

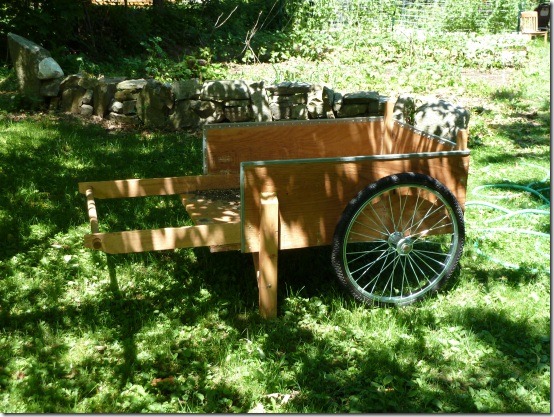
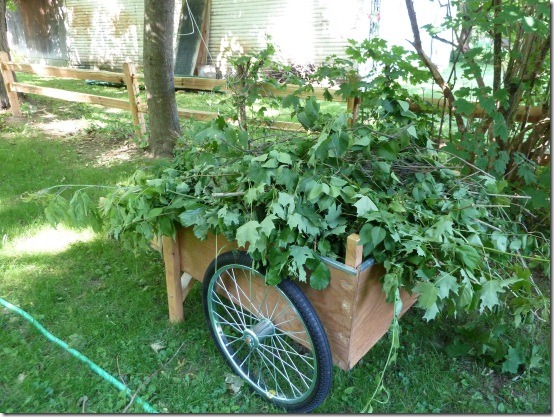
I decided to do two projects. Instead of buying a wheelbarrow or a cart, I would build one. And I would try to build a small chicken coop for a backyard flock.  I already had a good idea of what kind of cart I wanted to build, Herrick Kimball’s “Whizbang Garden Cart”.  Mr. Kimball has several great blogs about agrarian life and various DIY projects.  I discovered him over the course of various research I was doing into all things farm-related while in Chicago. 

cart2

This cart is modeled after the “Garden Way” carts that were popular for years in New England, but it’s made out of simple materials and a fairly easy starter project for a beginner like me.

cart1


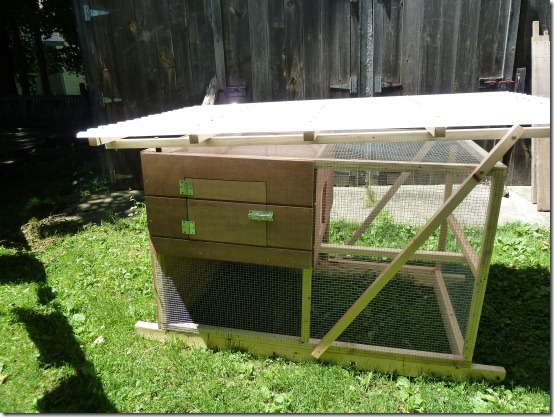
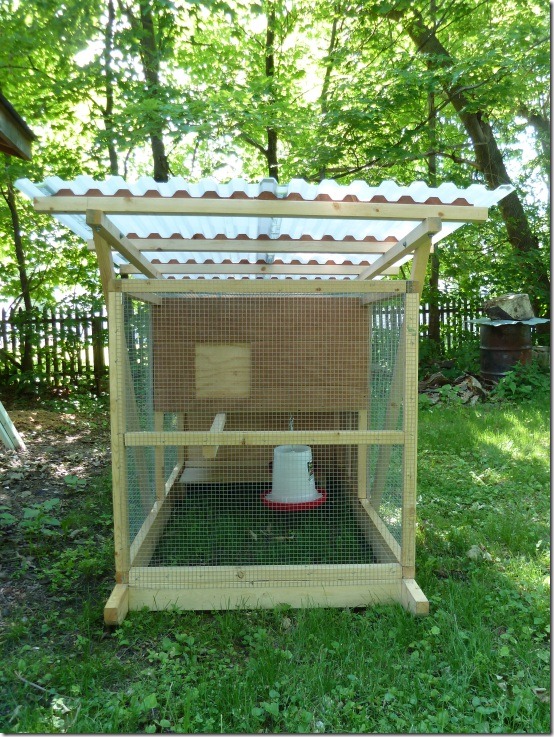
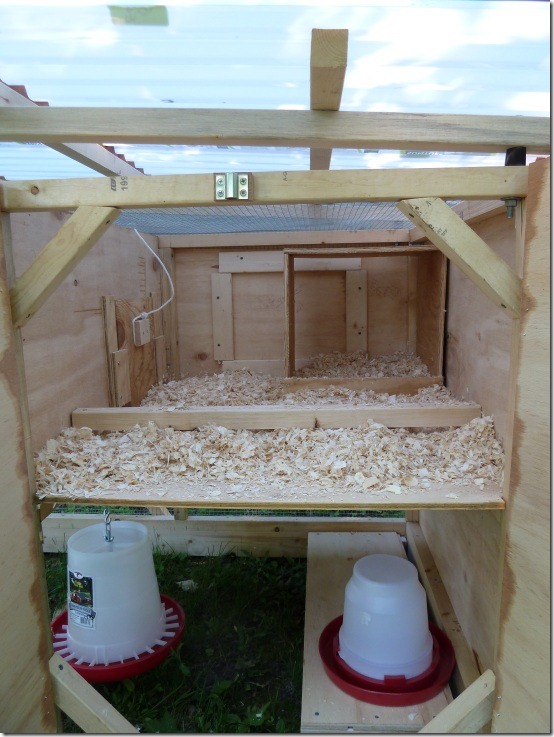
Figuring out what kind of coop I wanted to build turned out to be a bit harder than I expected.  I even bought a couple of books specifically about coop designs and plans, but nothing was quite what I was looking for.  Many of the plans would be great if I wanted to build something permanent or I was going to get 10-20 chickens or more.  The smaller coops were too simple and would require fencing in a large run or they simply weren’t robust enough to keep chickens in through the winter.  So I kept looking.  I can’t remember where I finally found the plans I ended up using.  I believe it was through the Backyard Chickens web site.  I decided to go with the plans from theGardenCoop.com

coop1

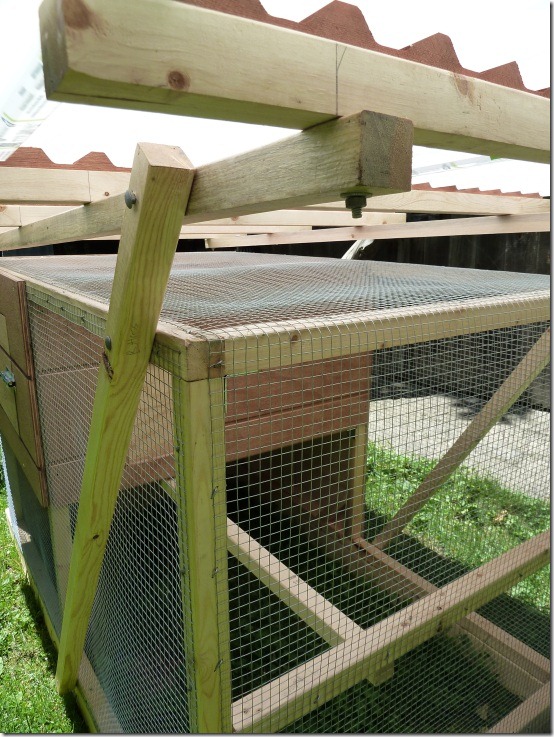
They have both a small coop design for 3-4 chickens and a larger design.  I like both of them a lot and may end up building the bigger plan at some point as well.  These plans weren’t free, but they were reasonable given the quality and attention to detail in the plans as well as the thoughtful design.  They are once again very step by step and don’t assume a lot of advanced carpentry knowledge.  There are even nice general carpentry tips thrown in along the way.

coop2

I won’t go into all the boring details of building these, but I certainly did learn a lot.  It’s amazing how much you can learn just from simple projects. A few things I did for the first time or learned about include:

  • using a circular saw
  • doing long cuts of plywood with a circular saw
  • angle cuts (I still suck at these)
  • more about using a drill (pilot holes, using spade bits, drilling holes in metal, running to the hardware store “one more time” to get a bit size I didn’t have Smile )
  • very basic framing
  • different ways of checking for square
  • ways to put things together and connect things when working alone
  • installing polycarbonate roofing panels

coop3

These projects probably took me about 10 times longer than any reasonably competent carpenter, but it was still very satisfying for me to see these projects through and be able to enjoy the end result.  I’m also thankful for helpful lumber yard, hardware and metal shop folks who were willing to assist and answer beginner’s questions, as well as my carpenter friends here in Vermont who offered tips, loaned me tools and did some table saw cuts for me.

Now just need some chickens, which we are hoping to remedy tomorrow…

coop4

5 Lessons from sausage making

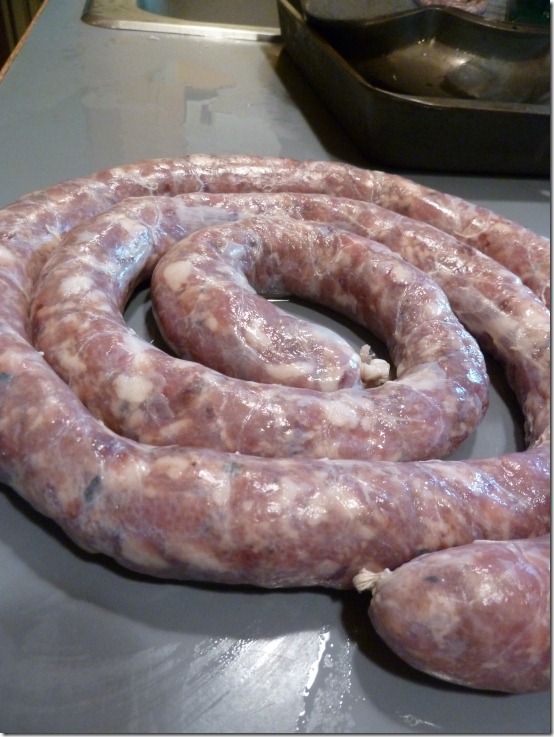
A few weeks ago I finally had a chance to make some more sausages.  I had been wanting to try some poultry sausages, for a couple of reasons.  They can be a bit healthier (although you still have to add a lot of fat), the flavors are more neutral (thus allowing for more creativity and variety in flavoring) and the meat tends to be a bit cheaper as well.  This was also my first time using my new sausage stuffer and using casings. You can read about my first attempt at making fresh pork sausage in an earlier post.

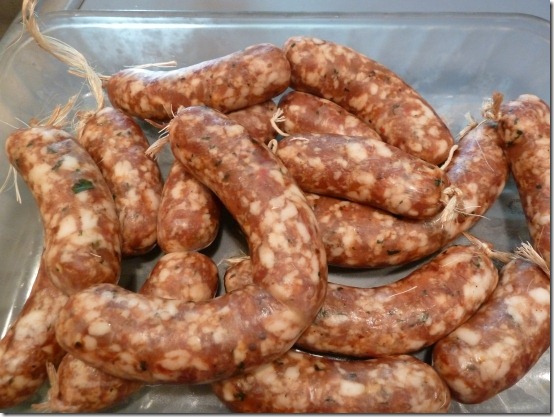
I decided to make two different sausages from the Ruhlman Charcuterie book.  One is a turkey sausage seasoned with Thankgiving-style spices (cloves, cinnamon) with dried cherries and some red wine.  The other is a chicken sausage flavored with white wine, olive oil, sun-dried tomatoes and various herbs.

readytosmoke

Here are a few things we learned from the process.

1. Drumsticks are cheap, but a pain to prep
I decided to use mostly drumsticks since they are such a cheap cut of meat.  We have a local poultry farm just up the road where I can buy directly in bulk.  I got a bunch of turkey drumsticks for just a few dollars per pound.  For the chicken sausage, I had drumsticks and thighs.  The problem is, if your time is valuable you will use up any savings in buying drumsticks with the time it takes to cut and prep the meat.  Drumsticks are great finger food fresh from the grill, but there is a reason you don’t see boneless legs at the supermarket.  They have a lot of tendons and ligaments you have to cut out and around.  And you don’t really get a lot of meat in the process.  The turkey drumsticks are better because they have a lot more meat, but the tendons are thicker and tougher so it’s a bit of a wash.  I don’t think I would use them again for sausage, although I love the flavor and price.

2. You might want to skin the fatback first.
Poultry meat doesn’t have a lot of fat and you really do need fat to make a good sausage.  So typically you will add some extra fat and pork fatback is a great solid fat that works well.  I got my fatback from local farmers raising pastured hogs and it’s beautiful stuff.  But I started cutting it up without thinking about the fact that it still had the skin on.  Sometimes you want the skin on when you are cooking certain cuts because it cooks up nice and crispy.  But not for sausage and it’s a pain to cut skin off a bunch of little pieces of diced fat.  Ask me how I know….. Much easier to skin the whole thing first.

3. If stuffing is overly hard, you’re doing it wrong
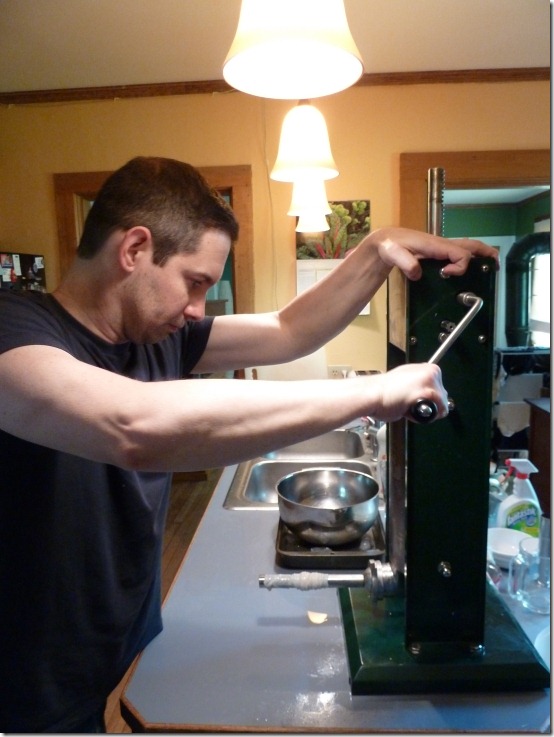
This was the first time I had tried stuffing sausages and I figured it would be a bit tricky. I got a decent 5 lb. vertical stuffer, so I have good equipment for small batches. I used standard natural casings in the medium size that is most commonly used.

stuffing

Preparing to stuff

Going to have to tell on myself a little bit here. By the time it came to stuff the first batch, it was pretty late on a Friday night and I wasn’t too with it anymore.  So I didn’t bother reviewing the right way to use the stuffer.  I asked Kristin for help and started the stuffing.  It would go along fine for the length of a couple of links and then pressure would start building up and the casing would split. We were both getting very frustrated and Kristin actually tried to tell me I should try it a different way, but I didn’t get what she was saying.

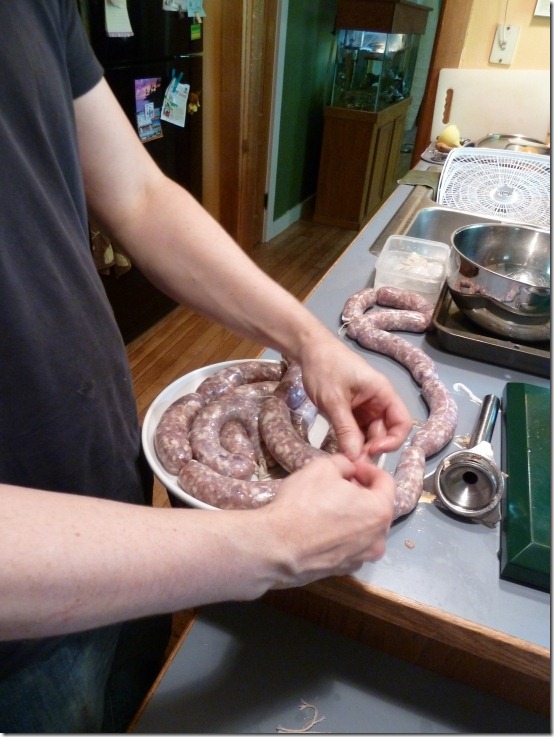
So the next day I decided to go online and figure out if I was doing something wrong.  Sure enough, that was the problem. Here’s what I was doing.  I was feeding just a bit of the casing on the tube and then trying to push the mixture down through the casing.  WRONG! You are supposed to put the WHOLE casing on the tube, tie off the end and then let the mixture feed in and push the casing off the tube. Works so much easier when you do it right.  We tried this on the second batch the next day and it was a world of difference. We stuffed the entire casing with no issues.

tieingTying off sausages after stuffing

4. Food dehydrator works well for pre-drying before smoking.
When you get ready to smoke something, you want the surface to be pretty dry and a little tacky. Basically the smoke needs something to stick to.  You can hang the sausages up for awhile at room temperature or inside a fridge or drying chamber.  There are various ways.  I was looking for a shortcut and we already have a food dehydrator.  So I got the thought that maybe I could use that to speed the process.  Checked online and apparently some other folks have tried this as well and it seemed to work.  So I gave it a shot and I think it worked pretty well.  You have to keep the temperature down and keep an eye on them, but I was pretty happy with this method.  We have the American Harvest square dehydrator with temp control and I like it a lot.

stuffedReady to Dry

5. Don’t do too much at once.
Since sausage making is pretty time consuming, it’s good to do a bunch at a time.  But doing two different 5 pound batches is a bit challenging, particularly when you are stuffing and smoking all of it.  And when I was smoking the sausages, I really had the smoker way too overloaded.  Some sausages got too hot and others were a bit slow. Not enough airflow and it was difficult to get them all up to temp.  So if I did it again, I would probably just smoke some of them and keep the rest as fresh sausages.


So all in all, I learned a lot from this round of sausage making.  And the sausages turned out great, although I think we like the chicken ones a little better.  They are right up there with some of the really good ones I’ve had like the Aidell’s version.  Not sure what we’ll try next, but each time the process seems to make a little more sense and go a little more smoothly. 

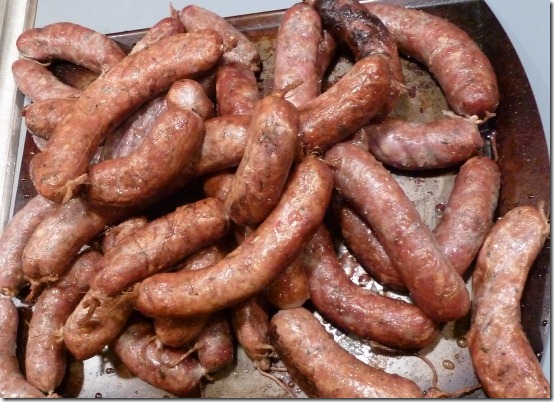
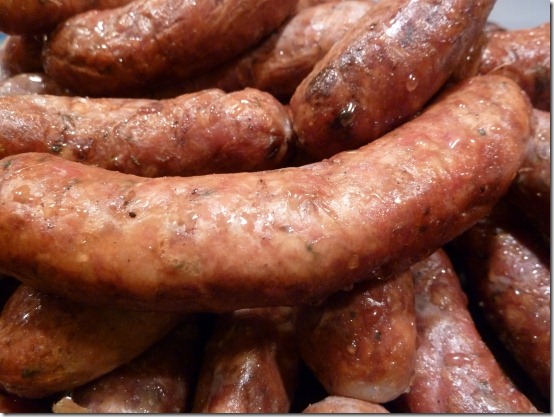
Here is the finished product:

finished2

finished

The mushroom project

One of the foods I really love is mushrooms of various types, so I’ve been wanting to try to grow some of my own.  This is actually a project I started in March, but haven’t had time to post any pictures until now.  I actually tried growing some shitakes and oyster mushrooms indoors with varying success.  You definitely have to stay on top of them, so I was looking for something a little lower maintenance.  After all, if you take a hike in the forest they are everywhere, although maybe not always ones that you can eat.  Speaking of that, foraging for wild mushrooms is another thing I would like to learn how to do.  There are definitely folks around here who do it, but that’s the sort of thing that’s best learned from someone else.

Anyway, I decided to try inoculating some logs with mushroom plugs and see how well that works. There are various sources of mushroom supplies online, but I like Fungi Perfecti.  It was started by mycologist Paul Stamets, who literally wrote the book (several of them) on growing mushrooms.

My landlord is also interested in this, so he supplied some logs to start out with and we are going to share the logs once they get fully populated.  The logs have to be fairly fresh, not too large in diameter and most edible mushrooms that use a wood growing medium generally like hardwood.  Some mushrooms have favorites where they seem to perform best, although often there is a range of types that will work.

P1000935

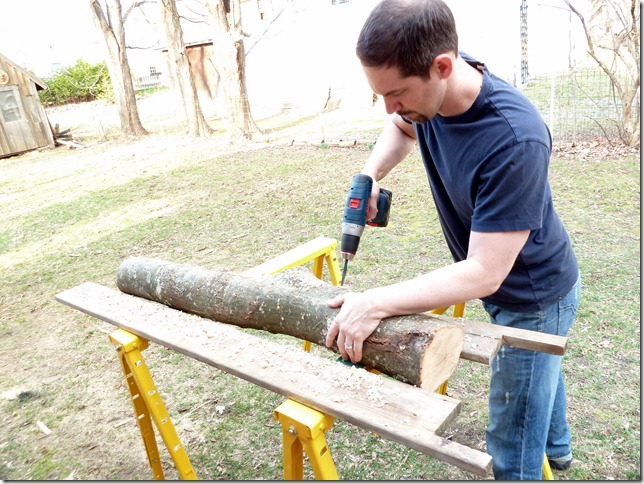
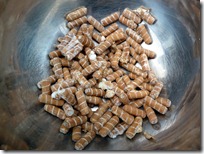
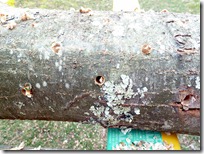
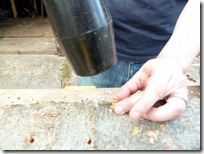
The process is basically to drill a ton of holes in the logs and pound these wooden plugs into the holes with a mallet.  It’s pretty time consuming, but the nice thing is if the logs “take” and the mushroom spawn fully colonizes the log, they can produce mushrooms for 3-5 years or more.  I’m mainly trying shiitakes and I also did a few logs with Lion’s Mane.

P1000945P1000937P1000939

After the logs are plugged, they go into a colonization stage where you water them occasionally and wait for at least 6 months or so for the mycelium to take over the log.  Then you can put them outside “planted” upright in a shady damp place and hopefully start harvesting mushrooms here and there as they go through regular flushes of growth.

P1000946

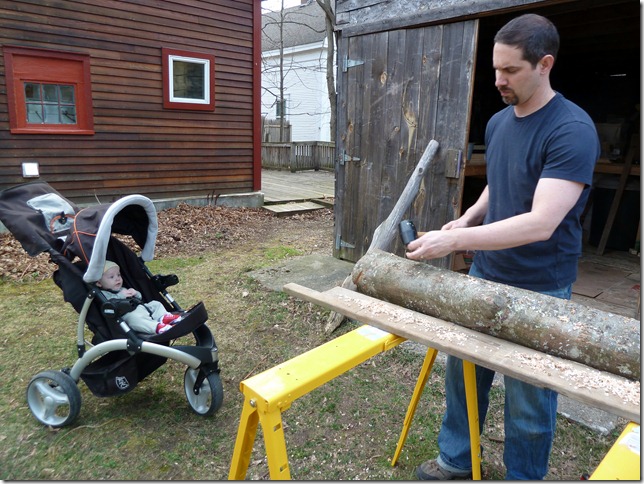
I had a good supervisor, so hopefully things will turn out great.  This is another one of those things where you start something and hope it turns out.  In that way it’s much like garlic or beer or cheese or any other number of great things that are worth waiting for.

Sights of Spring

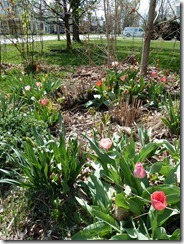
Not a lot of big new projects lately, due to visits from friends and traveling.  But still continuing to get ready for summer.  Lots of seed starting, both indoors and out. And a sudden explosion of color around our rental property as the huge number of hidden bulbs suddenly make their presence known.  It still seems magic every year after the gray of winter.

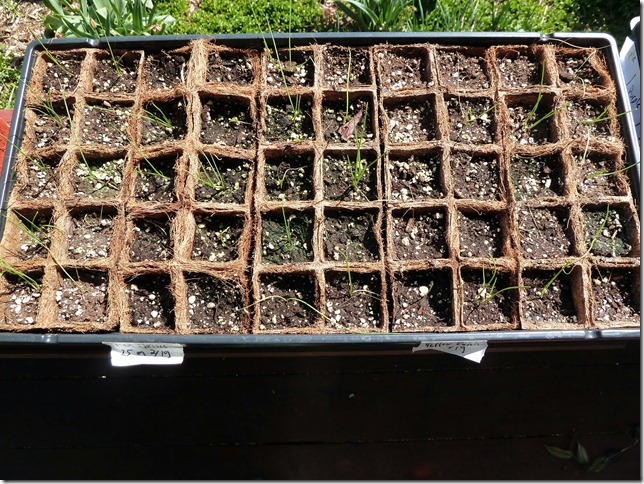
P1000990Onion starts.  This is the first time we’ve ever tried doing onions from seed.


P1000991
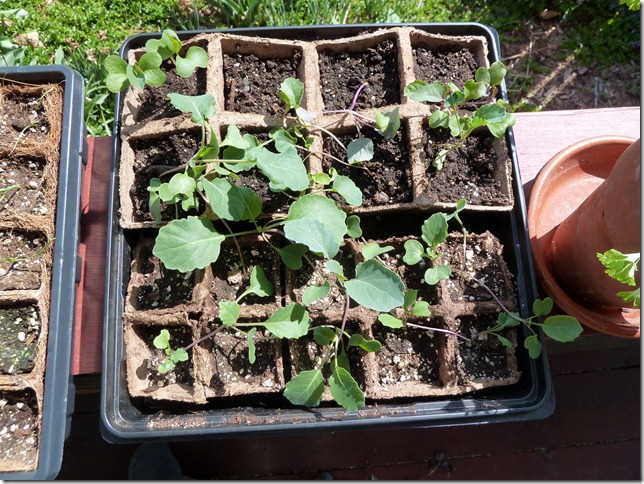
Various brassicas


P1000995
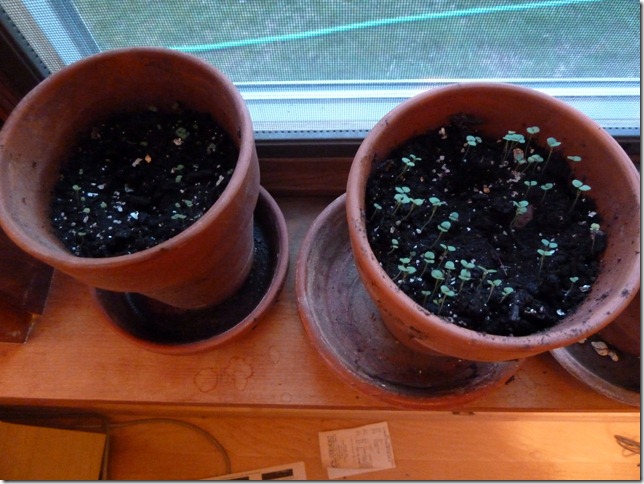
Windowsill pots of oregano and thyme


P1000996
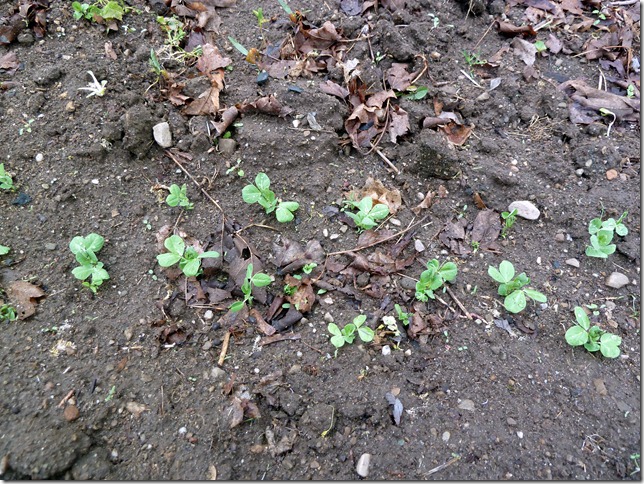
Peas!  We are attempting two regular types and two snow/snap types.


P1000997
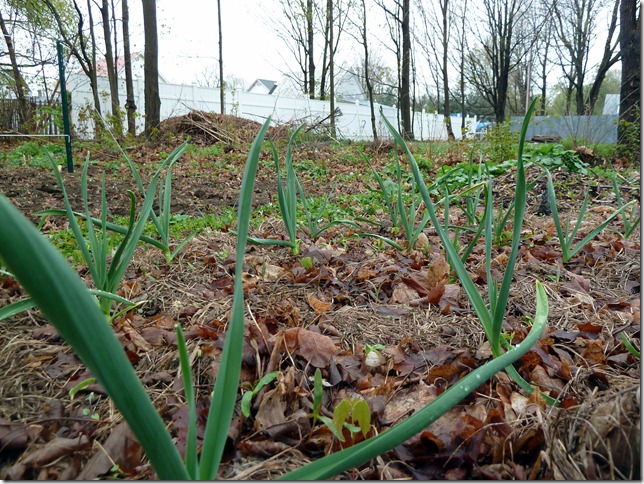
The garlic we planted last fall is looking fantastic.


P1000998
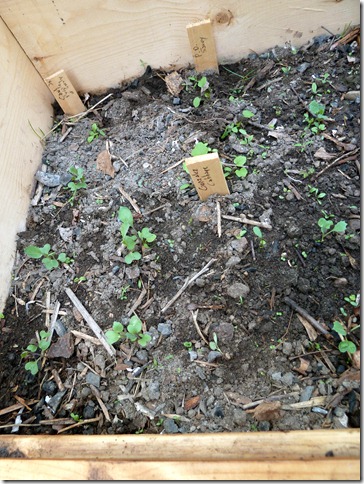
Various brassicas inside the cold frame. We will transplant these out.  Comparing how this works with starting inside.


P1010003
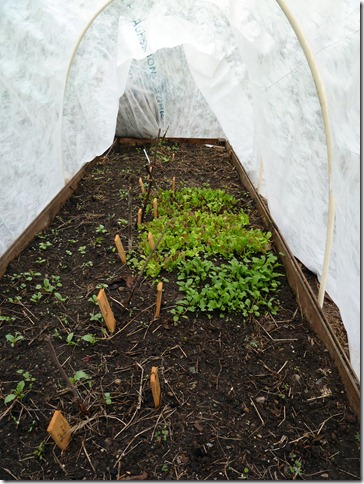
A view inside the hoop.  The big splash of color you see is various lettuces and arugula.


P1000994P1000993P1000992

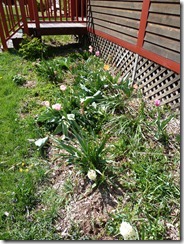
Tulips, daffodils and other lovelys.