Some favorite music of 2013

Little bit of a departure for this blog, but I’m always going to be a music lover and musician.  So just thought I’d note some of my favorite music of this past year, in no particular order:

Post move update

As you might expect, life has been pretty busy since our move.  Fall went pretty quick and now we are already headed into winter, so work outside will slow down for awhile. Here are a few of the things we’ve been working on.

  • We put in an herb spiral.  I’ve always found the idea of these one of the most interesting and accessible permaculture concepts.  We have some rocks scattered around the property, so I was able to build this with a combination of repurposed bricks and rocks.
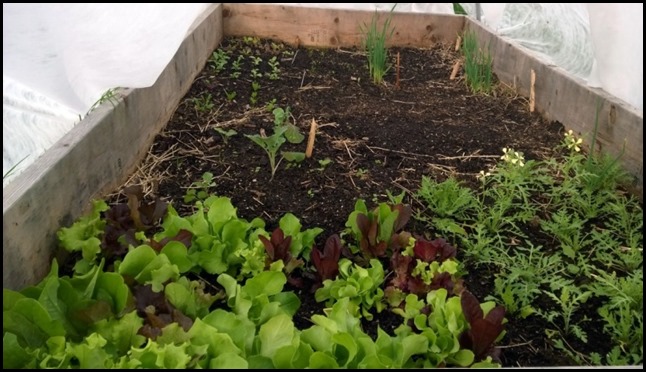
  • We had one little hoop in a raised bed for the fall.  Got quite a bit of lettuce and other greens out of it into November.  Also some radishes and Hakurai turnips.  The last part of November was fairly cold here, so not much is still growing now.  But there are also carrots and bunching onions that should come back and continue to grow in the spring theoretically.
  • Kristin is experimenting with the concept of a couple of “lasagna” plots, which is basically where you build up a raised bed using various materials (grass, straw/hay, food waste, chicken shavings/manure, spent beer mash, etc.)  It’s basically building a compost pile, letting it sit over the winter and early spring and then planting directly into it.  We have two of them going so far, both a standard 4’ x 8’ size that we settled on for raised beds. Makes it easy to use scrap dimensional lumber for frames and the hoops fit over them nicely.
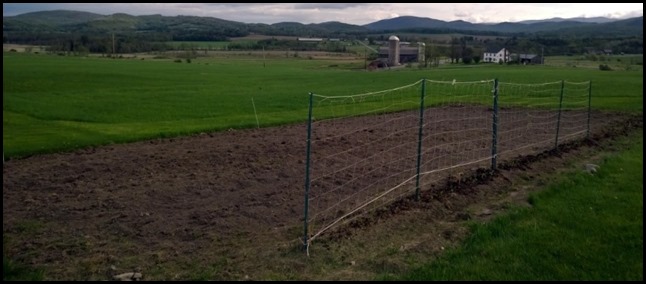
  • We dug up another section in our back pasture and planted garlic.  Our tiller really struggled with getting anywhere with our dense pasture grass sod.  It took about 8-10 runs to break the ground into anything useable.  So we may need to get some sections of the properly plowed at least once to get certain things started, like asparagus, strawberries, etc.
  • I just planted a couple of hazelnut bushes from the Arbor Day Hazelnut Project. They are developing hybrid bushes that can grow in a much wider range of climates, hopefully over most of the US instead of mainly in a small area of the Pacific Northwest.  I also started our windbreak with 10 Norway Spruces from Arbor Day. Eventually I want to build up a substantial windbreak on the north and east sides of the house and along the lane, with a mix of evergreens and deciduous trees.
  • We did a bunch of efficiency work on the house, including blowing cellulose into the attic which was never done for some reason.  We also insulated the basement above grade for now as well as our bulkhead door, with the intent of eventually putting foam board on the entire set of walls in the basement.  This may not be necessary and foam board is pricey, so we’ll see how it goes.  The basement is already noticeably warmer. We would like to eventually put in another heat source, such as a pellet stove.  We have a fairly efficient oil furnace, but I don’t like having that as my only option and it’s certainly not the cheapest way to go for a house of this size.

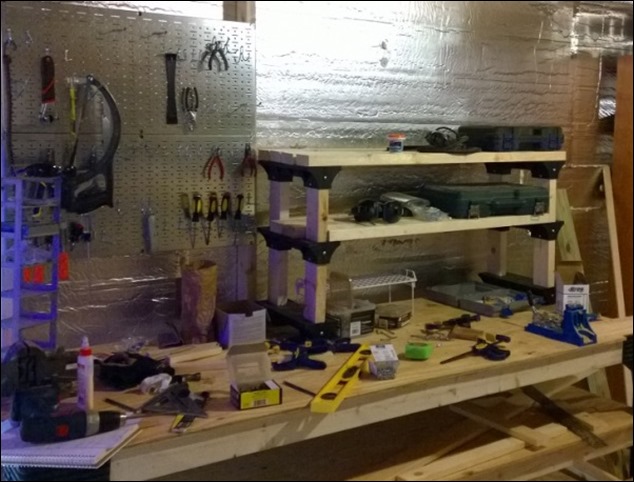
This winter I hope to do a few small projects, including building a larger chicken coop using the principles in Fresh Air Poultry Houses.  We also still have some odds and ends to wrap up in the master bath, painting to finish in the upstairs and some electrical work to have done.  I hope to get some additional storage and a workbench/tool area set up in the basement, now that we have some of the insulating done.

I’ve ordered my first 4 apple trees for spring delivery and we’ll need to start thinking about strawberries, blueberries, asparagus, rhubarb and additional trees for windbreak to plant in the spring.  Plus our normal seed starting and the fun we always have looking though all our seed catalogs.  This year we’ll finally be able to grow some things we didn’t have room for in the past, such as sweet corn, melons, pumpkins and lots of other things.  Not sure we’ll get to all that in the first year, but we’ll do what we can like we do every year.

2013 Cider Press

After last year’s experiments with cider, I wanted to ramp things up a bit and get a better process.  I’ve had plans for Herrick Kimball’s Whizbang Apple Grinder for awhile now, which basically repurposes a sink garbage disposal with a better motor in order to make a great apple mash for pressing cider.  With all the other new house projects, we were already well into this year’s apple crop before I realized I was running out of time to put together a grinder this year.  So I quickly started ordering parts to build the grinder.  The grinder itself is not that difficult of a project to put together, once you have the right materials.  So I was able to finish that up this past Saturday morning and it looks like this.
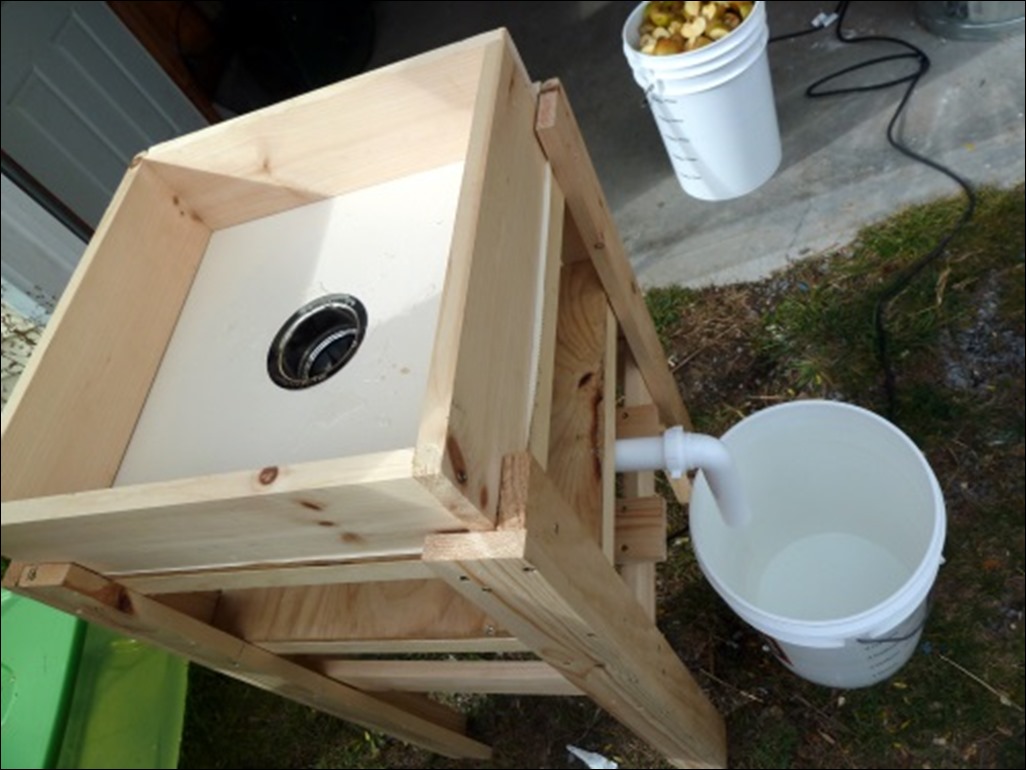
AppleGrinder

On Saturday afternoon, we attended a local CiderFest at Happy Valley Orchard, one of the local orchards where we like to get apples. They have teamed up with Citizen Cider, a local hard cider company and have quite an operation going over there.  Super nice folks too, with a well maintained orchard.

I decided to use their drops for my cider and they had them in abundance this weekend, so we decided to go ahead and grab our apples while we strolled through the orchard and sipped on some Citizen Cider.  They directed us to the section of the orchard where they have a few heirloom varieties and we scored a nice selection of Russets (probably Roxbury Russet and Golden Russet) as well as a large golden variety (Grimes Golden perhaps) and a few others.  We rounded out the base of the cider with Jonagolds, Macs, Red Delicious and Honeycrisps, as well as a few others.  We were able to score 2 1/2 bushels in about 20 minutes and many of the drops were in fantastic shape, all for only $4.50 a half bushel bag.  Can’t beat that.

Sunday afternoon we started prepping the apples for pressing, which consistent of a quick wash and brush and quartering the apples.  This went pretty quickly, considering how many apples we had.  We weighed as we went to get a sense for how many apples overall, as well as how many of particular varieties.  We threw in some crab apples from a Bristol neighbor’s tree and a few from a tree on our new property.  We ended up with about 88 lbs. of apples.

After a brief scare with the grinder that just involved tightening up the shaft coupler, we were off to the races grinding all the apples.
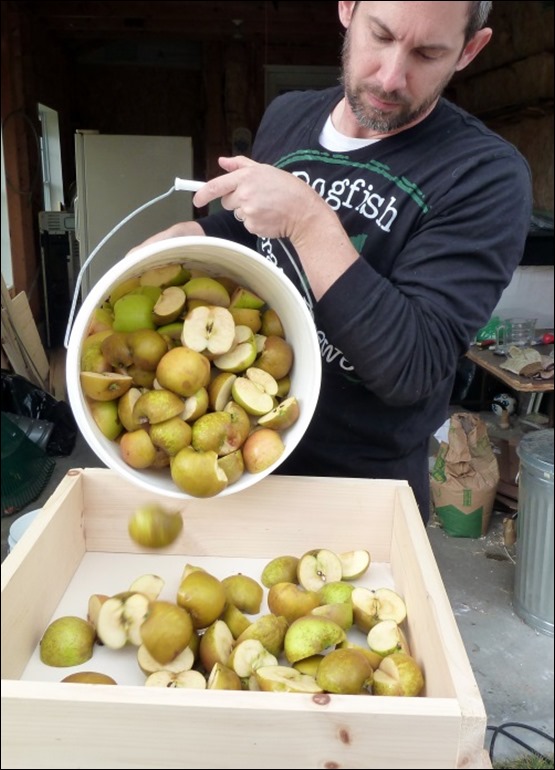
LoadingGrinder

The grinder worked magnificently, chopping apples about as fast as we could push them in.FirstPulp
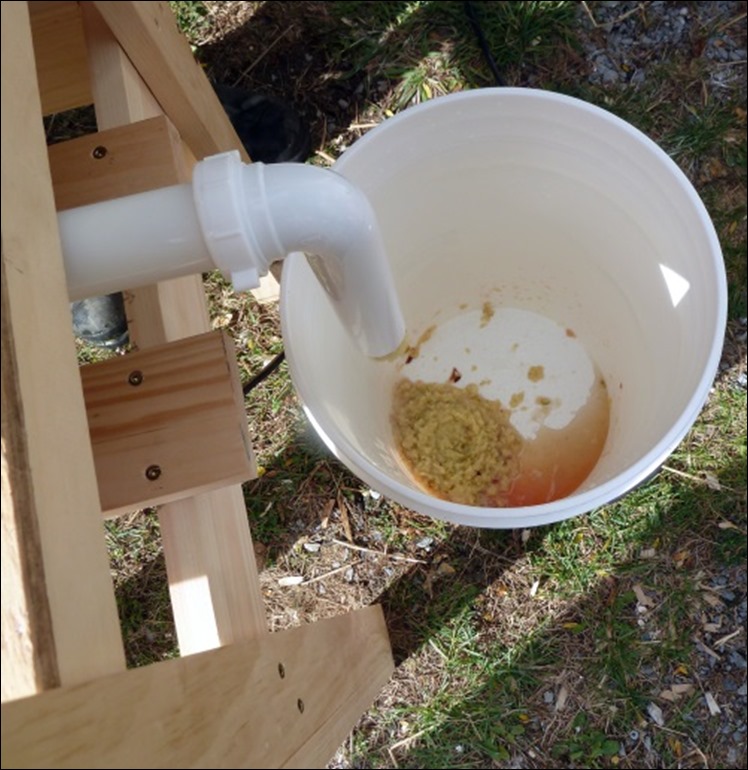
The yield when using this grinder was a night and day difference from our attempts last year, where we used a Cuisinart food processor since we didn’t have anything else.  As soon as we loaded the mash into the bag, juice started flowing.  Below our friend Christine who is visiting for the weekend helps load the pressing bag.
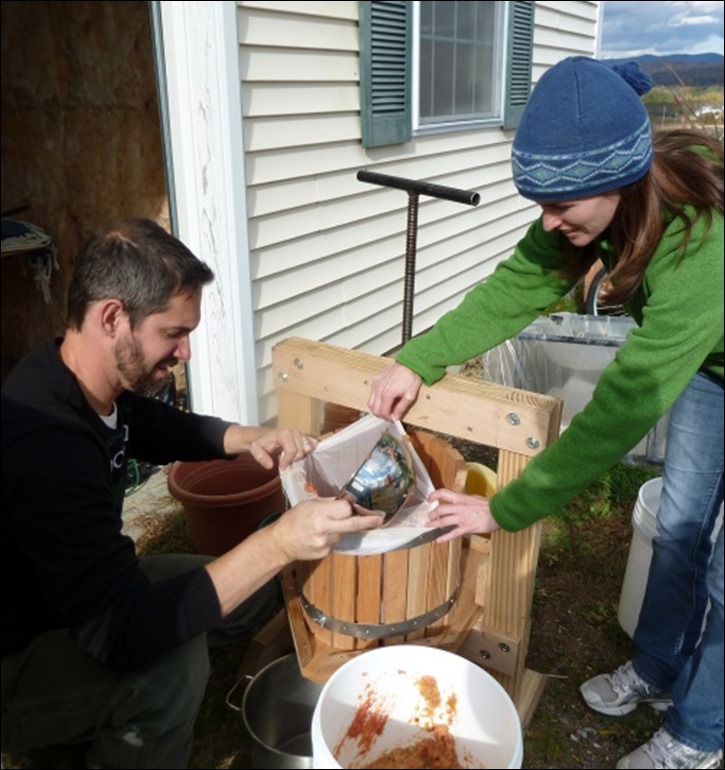
LoadingPress

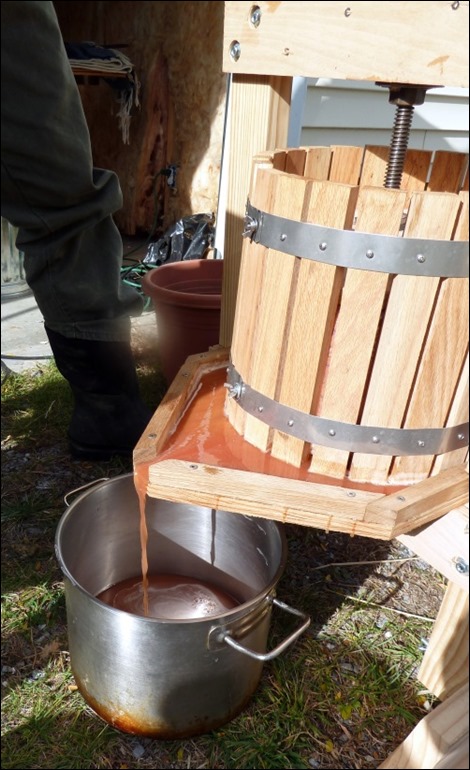
Check out the lovely flow of cider.

CiderFlows

Ezra provided some management and quality assurance.
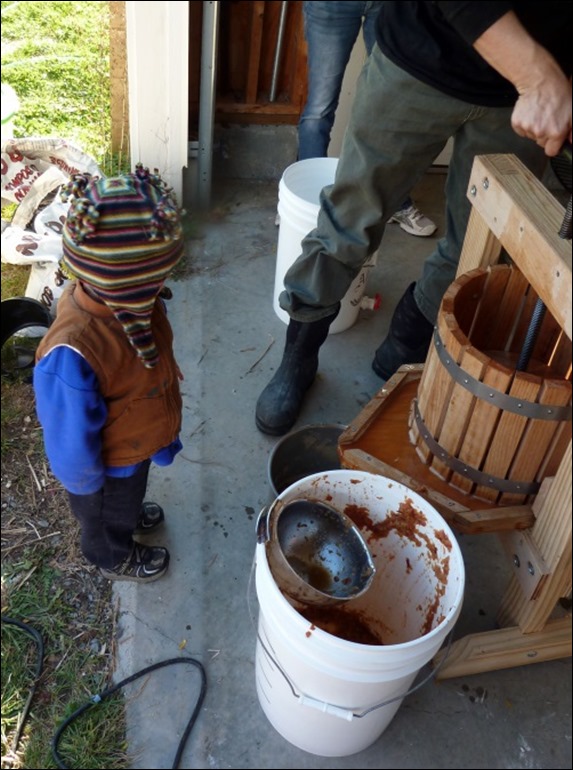
EzraObserves

I was aiming for at least 5 gallons to ferment this year and we blasted well past the goal.  I couldn’t believe the great yield we got using this mash.  The only thing I want to try different is to use multiple bags with some pressing rounds between them.  It’s hard to get enough top pressure even on a half bag to get all the juice out.  I was rearranging the bag several times on each press and always got a bunch more juice each time.  I did go back and repress after we got our main press done, but I think I could’ve still gotten a bit more.

Still, we ended up with 8 gallons altogether.  Along with the 5 gallons which I am fermenting with a pitch of Nottingham ale yeast, I set aside 1 gallon to naturally ferment on the porch and a couple of gallons for drinking.  I didn’t go anything this year to kill the wild yeast, so it will be interesting to see what we end up with.  The Nottingham should jumpstart the main batch enough to do the bulk of the fermenting.  Here’s the carboy full of fresh cider ready to start its journey to the hard side.
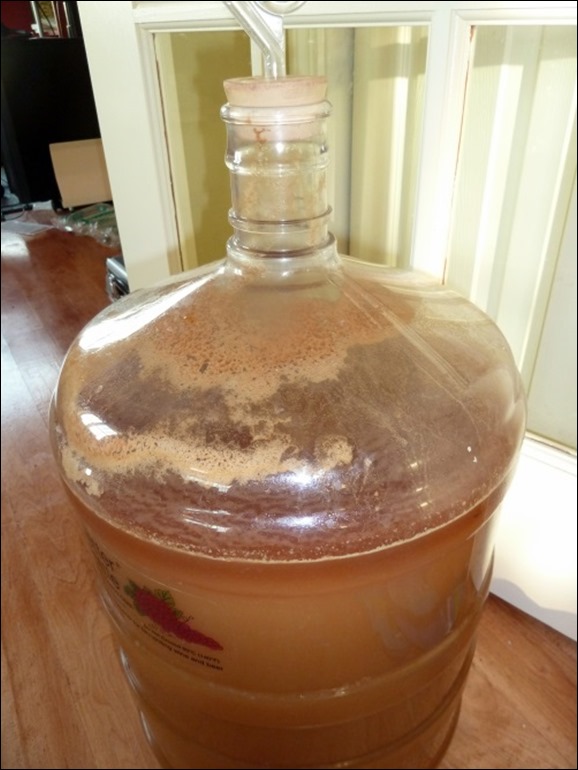
ReadyToFerment

We found our plot

In all the busyness, I have neglected to post anything about our new property. On July 19th we closed on a 10 acre property in New Haven, one town over from where we are renting now in Bristol. The house is a nice size with plenty of room and not too old. It was built in 2000, so it’s just old enough to need some updating. The last owners moved to California about 5-6 years ago and it’s been rented ever since. So it’s in need of some TLC to get it looking the way we want, but we think the house and property has a lot of potential.

We’ve already gotten hardwood floors put into the living room and master bedroom. We’ve gutted the master bathroom, ripping out a corner whirlpool tub, the vanity and the toilet. Small closet in the room is getting demoed out as well. The whole place could use a fresh coat of paint, so we made a good start on that over the weekend between us and also some hired painters.

We may update the kitchen at some point, but probably need to wait on that. We would like to use it for a bit to determine exactly what we want to do. We are going to put a gas range in and replace the refrigerator at least. All the appliances appear to be original from when the house was built, so they are showing some age.

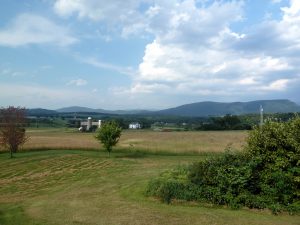
View from front porchP1010956

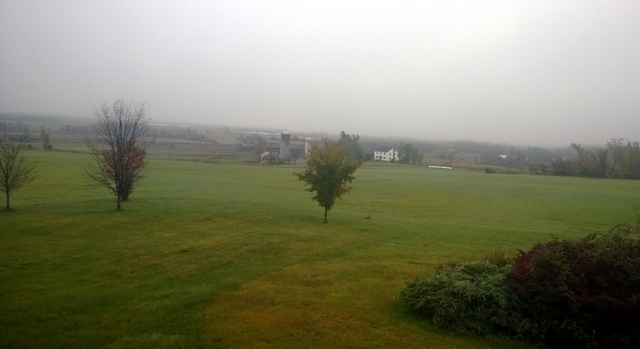
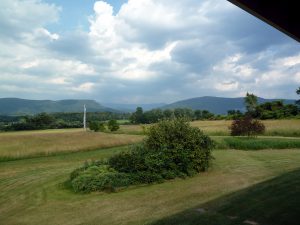
The property itself is mostly cleared, rolling pasture. The farmer next door is haying a lot of it one final time. We’ll be putting in a small garden plot or some raised beds immediately for a fall garden. Next spring I would like to set up 3-4 smaller garden plots and we’ll set up rotations through them over time. We also want to plant some berries, apples, asparagus and other perennials in the spring. May need some trees as well, particularly to get some windbreaks going. The house is up on the side of a hill overlooking the valley, which provides fantastic views, but is also likely to be windy.

Another view from front porchP1010958

Much more as we go, including some before and after room photos as we get updates completed. At this point we plan to move in early September.

Mid-summer in Vermont

It always seems the summer starts to get away from me around this time.  I did manage to go out and take some photos today after all the family left.  We had a full house over the 4th and got to eat some great local meat, including my cured sausage and bacon, eggs and produce from the backyard and homebrew.  I finally smoked some local pastured pork shoulder into some delicious pulled pork in the barrel smoker.  It was in there about 5 hours and to be honest it probably could’ve gone another hour or two as it wasn’t quite as “falling apart” as I hoped.  Still very good though, with a great smoke ring and nice bark.

The summer so far has been a strange one weather-wise in Vermont.  After a mild sunny May, it seemed like it rained all of June.  I think we’ve had rain almost every day for the last 3 weeks.  That means we still have a bit of lettuce and other greens holding on in July!  But also means the tomatoes and peppers aren’t as happy as they could be.  However, most things are holding up well.  The potatoes look great and all the brassicas are enjoying the cooling effects of the rain.  We’re even still getting some radishes.

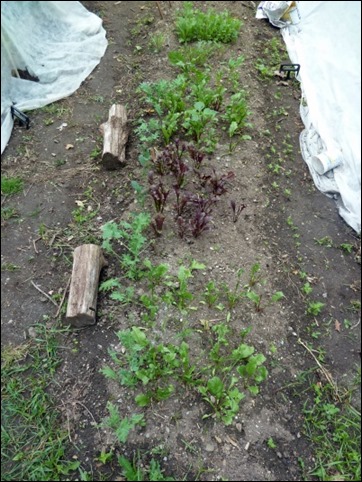
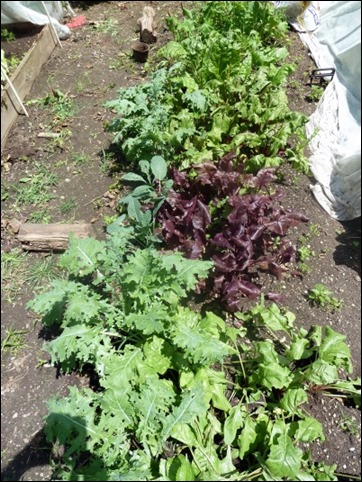
Anyway, I just added a bunch of new photos to Flickr if you want to see the latest progress.  I did want to show one before and after photo that I think it’s interesting.  This is a row of kale and beets.  The first photo is from June 16th and the second photo is from today.

beetsmidjune

beetsearlyjuly

See more photos at Garden 2013 on Flickr

Homemade Brats

Since I started trying my hand at making sausages, one of the things I’ve wanted to try is homemade brats.  While you can find fresh brats almost anywhere in the midwest, they are harder to come by in New England.

Fortunately they are just a fresh sausage that get their flavor from good meat and a certain set of seasonings.  Most recipes call for a mix of pork and veal, but veal is tough to come by and even tougher to come by if you are looking for a humane option.  Plus it doesn’t add much to the mix other than a certain creaminess.  Certainly most of the actual meat flavor comes from the pork.

So I just made all pork brats, using some wonderful pork shoulder from Jericho Settler’s farm and some fat back.  Here is the result, both just after stuffing and on the grill. They turned out great, although I will certainly be tweaking the seasoning mix a bit.

P1010882

P1010883

Some quick garden 2013 updates

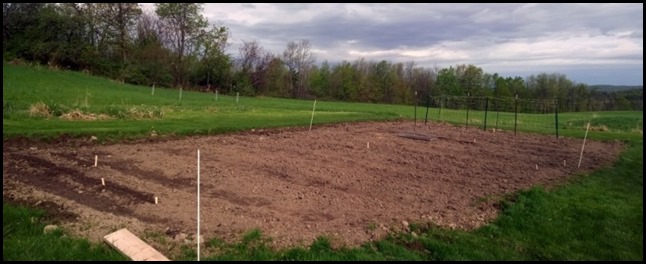
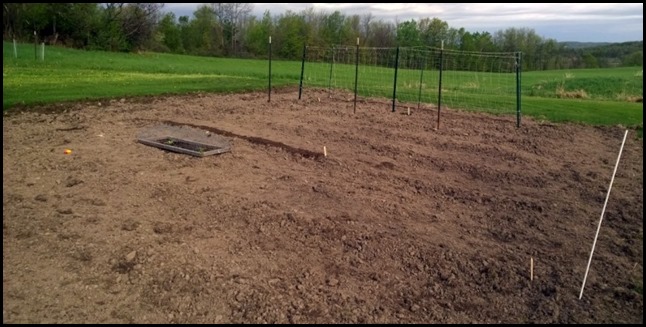
Due to a nice warm spring here in Vermont, our garden is off to a great start.  Here are some photos from a couple of weeks ago, stuff is much bigger now.

We are trying out some new trellis ideas.  The trellis netting works great for most things (tomatoes, peas, beans, cucumbers), but couldn’t really hang (no pun intended) with the heavier squashes such as Blue Hubbard.  Here is a new trellis I built using scrap wood and chicken wire.  May build a few more, this only took about an hour.

trellis

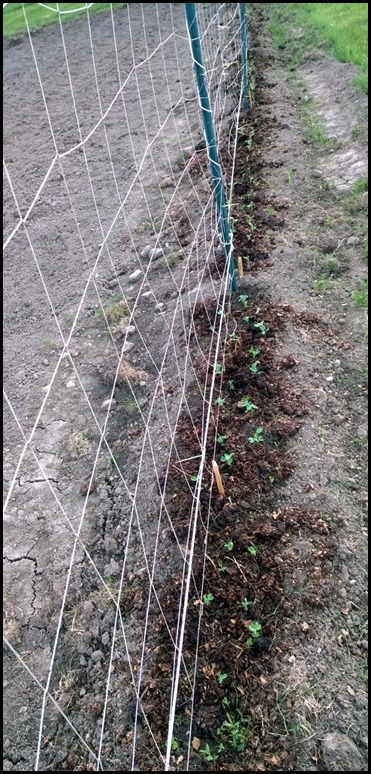
Peas poking through and then a few weeks later

peas1 peas2

Garlic off to a good start.  It’s almost 2 feet high now

garlic

Bought a tiller

tiller

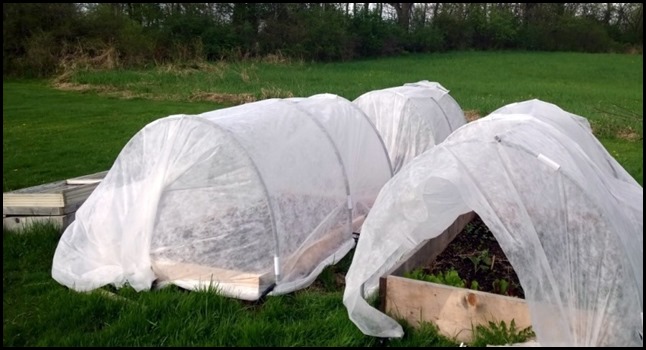
Hoop tunnel

hoop

Cabbage overwintered in cold frame. Soon after we transplanted it, the chickens got into it. This poor cabbage can’t catch a break. It’s still limping along, so maybe it will come back.

cabbagecoldframe

You can see more photos and keep up with our 2013 garden on Flickr.

Simple DIY mini greenhouse

Last year I was looking around for a small greenhouse I could use for seed starts and hardening off plants.  There are a number of small ones with a few shelves and a plastic cover.  When I saw how simple they were, I didn’t see the point in spending the money.

8699832316_6b144ae143

We already had a few of the wire rack shelving units that you can buy at a lot of places like garden/home supply stores, Target, etc.  I was already using one to start seeds in the basement, so I knew the general layout would work.  So I just bought some greenhouse plastic and basically wrapped one of those racks.  I fastened the plastic to the rack using wire along the vertical supports.  The plastic is thick enough to hold for the most part, although obviously it tears a bit over time.  It doesn’t have a nice zippered front on it, but other than that it’s the same principle and costs a lot less.

I used it a bit last year, but did have some issues with wind on our front porch.  This year I have a sandbag on the bottom rack and some clothesline fastening it to the porch railings.  That seems to do the trick as we’ve had some pretty good wind storms since I put it up this spring.  So far so good.

8699837282_901a52889a

It’s working really well to start cold hardy plants and I’m also hardening off other plants that I’m starting in the cellar.  It gets nice and warm in there and doesn’t seem to dry out too fast.  The other trick I added this year is some foil covered insulation board to reflect more light from under the starting trays.  I’m also doing this in my basement underneath the heated seed starting mats I have and it seems to make a real difference.

8698717751_e649e1b72d

Seed starting tip for peas

I think I mentioned this last year, but wanted to throw it out there again. You’ll find this noted elsewhere online, I found it last year when growing peas for the first time.

Since peas can be started so early (apparently sometimes they will even sprout and grow through snow), the soil conditions can be all over the map. So I sprout my peas indoors first. It’s really simple. Take some paper towels or cloth and get it moist, but not wet. This year I used an old diaper. Put the peas inside. They like to roll around, so it can be helpful to roll up the sides in some fashion to keep them in. Put the paper towel or cloth inside a plastic bag or really anything that can hold some moisture in. I find a gallon ziploc works great and we always have used ones around. Just leave enough of a gap in the container or bag for some air to get in and out. You are basically making a little greenhouse.

After a couple of days, start checking them. As soon as you see sprouts you can plant them outside. Be careful with them at this stage as the little sprouts can be pretty fragile. If you break them off, that seed is done.

They seem to like a diaper better than a paper towel because this time a bunch sprouted by today, probably 60-70%, and I just started them during last weekend. Some of the sprouts actually grew through the diaper cloth. They are ready to go!