Homemade Brats

Since I started trying my hand at making sausages, one of the things I’ve wanted to try is homemade brats.  While you can find fresh brats almost anywhere in the midwest, they are harder to come by in New England.

Fortunately they are just a fresh sausage that get their flavor from good meat and a certain set of seasonings.  Most recipes call for a mix of pork and veal, but veal is tough to come by and even tougher to come by if you are looking for a humane option.  Plus it doesn’t add much to the mix other than a certain creaminess.  Certainly most of the actual meat flavor comes from the pork.

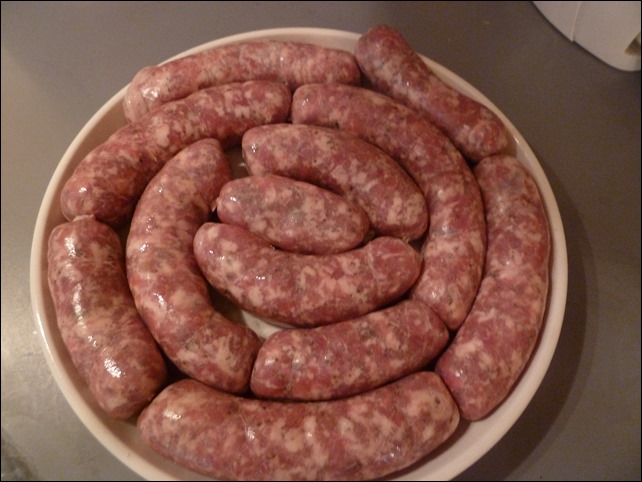
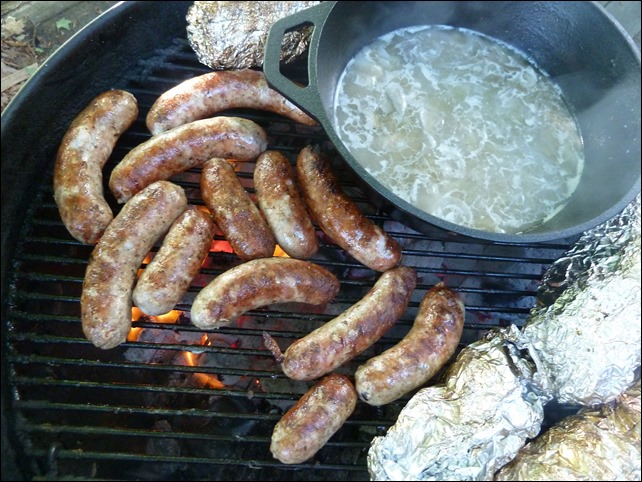
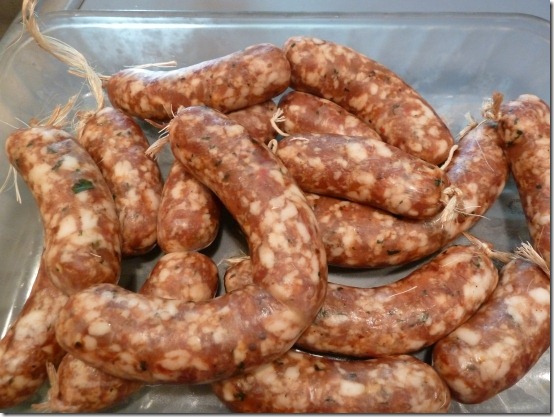
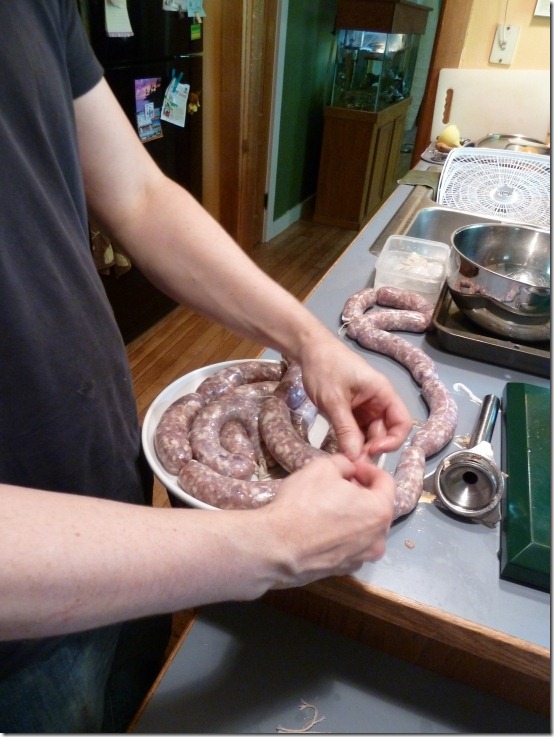
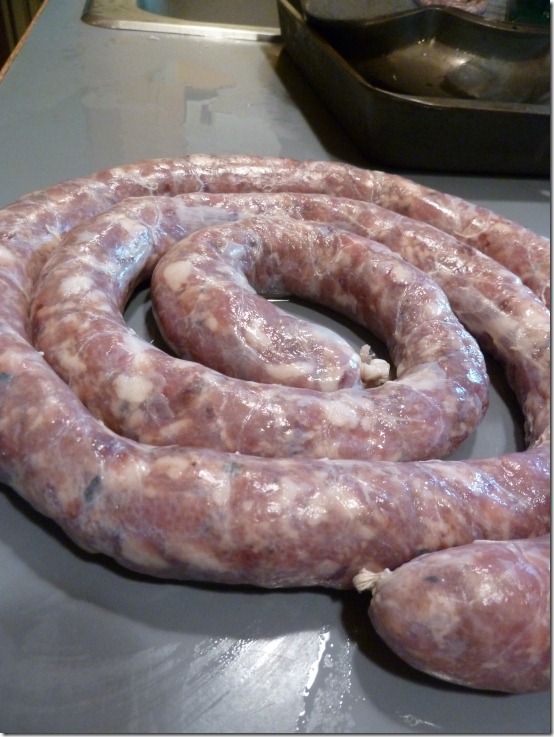
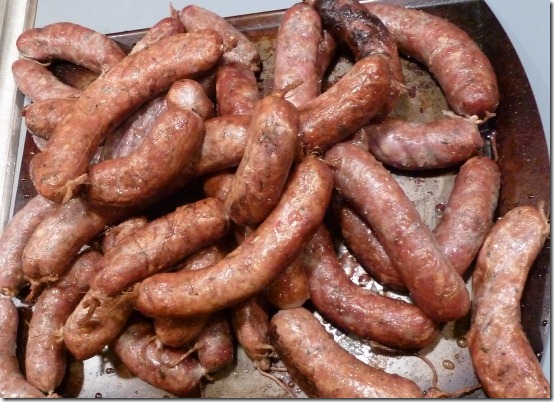
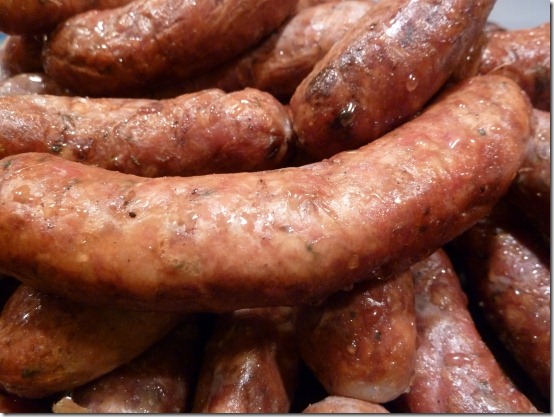
So I just made all pork brats, using some wonderful pork shoulder from Jericho Settler’s farm and some fat back.  Here is the result, both just after stuffing and on the grill. They turned out great, although I will certainly be tweaking the seasoning mix a bit.

P1010882

P1010883

Another round of sausage making

Yesterday I made another round of breakfast sausages. I’ve been wanting to try a couple of different recipes and I had a pork shoulder in the freezer that needed to be used.

I did two variations on breakfast sausage. The first is the basic breakfast sausage recipe from Home Production of Quality Meats and Sausages. This book is awesome for technical information, including lots of sanitation regulation and helpful tips on food safety. I’m not sure all the recipes are the best though. For instance, this one had you grind the meat and then add the seasonings before the primary bind. Seems wrong to me. I always figure that meat benefits from extra time in contact with seasoning, particularly salt. So I mixed everything and let it sit for a bit in the fridge and freezer before grinding. Added a bit of extra pepper too, since I like a fairly peppery sausage. I think this one turned out pretty well.

The second was a maple breakfast sausage recipe from Home Sausage Making. This one had some onion and so I thought adding garlic might work too, but with the maple syrup I think it is supposed to be a sweeter flavor profile. Still good, but I’ll leave the garlic out next time. That’s the fun of experimenting.

Here are a few photos. The meat was really beautiful, Kristin thought it was a shame to “waste” it on sausage. I stuffed quite a bit of this into small links, but neglected to take photos of the finished product.

no images were found

5 Lessons from sausage making

A few weeks ago I finally had a chance to make some more sausages.  I had been wanting to try some poultry sausages, for a couple of reasons.  They can be a bit healthier (although you still have to add a lot of fat), the flavors are more neutral (thus allowing for more creativity and variety in flavoring) and the meat tends to be a bit cheaper as well.  This was also my first time using my new sausage stuffer and using casings. You can read about my first attempt at making fresh pork sausage in an earlier post.

I decided to make two different sausages from the Ruhlman Charcuterie book.  One is a turkey sausage seasoned with Thankgiving-style spices (cloves, cinnamon) with dried cherries and some red wine.  The other is a chicken sausage flavored with white wine, olive oil, sun-dried tomatoes and various herbs.

readytosmoke

Here are a few things we learned from the process.

1. Drumsticks are cheap, but a pain to prep
I decided to use mostly drumsticks since they are such a cheap cut of meat.  We have a local poultry farm just up the road where I can buy directly in bulk.  I got a bunch of turkey drumsticks for just a few dollars per pound.  For the chicken sausage, I had drumsticks and thighs.  The problem is, if your time is valuable you will use up any savings in buying drumsticks with the time it takes to cut and prep the meat.  Drumsticks are great finger food fresh from the grill, but there is a reason you don’t see boneless legs at the supermarket.  They have a lot of tendons and ligaments you have to cut out and around.  And you don’t really get a lot of meat in the process.  The turkey drumsticks are better because they have a lot more meat, but the tendons are thicker and tougher so it’s a bit of a wash.  I don’t think I would use them again for sausage, although I love the flavor and price.

2. You might want to skin the fatback first.
Poultry meat doesn’t have a lot of fat and you really do need fat to make a good sausage.  So typically you will add some extra fat and pork fatback is a great solid fat that works well.  I got my fatback from local farmers raising pastured hogs and it’s beautiful stuff.  But I started cutting it up without thinking about the fact that it still had the skin on.  Sometimes you want the skin on when you are cooking certain cuts because it cooks up nice and crispy.  But not for sausage and it’s a pain to cut skin off a bunch of little pieces of diced fat.  Ask me how I know….. Much easier to skin the whole thing first.

3. If stuffing is overly hard, you’re doing it wrong
This was the first time I had tried stuffing sausages and I figured it would be a bit tricky. I got a decent 5 lb. vertical stuffer, so I have good equipment for small batches. I used standard natural casings in the medium size that is most commonly used.

stuffing

Preparing to stuff

Going to have to tell on myself a little bit here. By the time it came to stuff the first batch, it was pretty late on a Friday night and I wasn’t too with it anymore.  So I didn’t bother reviewing the right way to use the stuffer.  I asked Kristin for help and started the stuffing.  It would go along fine for the length of a couple of links and then pressure would start building up and the casing would split. We were both getting very frustrated and Kristin actually tried to tell me I should try it a different way, but I didn’t get what she was saying.

So the next day I decided to go online and figure out if I was doing something wrong.  Sure enough, that was the problem. Here’s what I was doing.  I was feeding just a bit of the casing on the tube and then trying to push the mixture down through the casing.  WRONG! You are supposed to put the WHOLE casing on the tube, tie off the end and then let the mixture feed in and push the casing off the tube. Works so much easier when you do it right.  We tried this on the second batch the next day and it was a world of difference. We stuffed the entire casing with no issues.

tieingTying off sausages after stuffing

4. Food dehydrator works well for pre-drying before smoking.
When you get ready to smoke something, you want the surface to be pretty dry and a little tacky. Basically the smoke needs something to stick to.  You can hang the sausages up for awhile at room temperature or inside a fridge or drying chamber.  There are various ways.  I was looking for a shortcut and we already have a food dehydrator.  So I got the thought that maybe I could use that to speed the process.  Checked online and apparently some other folks have tried this as well and it seemed to work.  So I gave it a shot and I think it worked pretty well.  You have to keep the temperature down and keep an eye on them, but I was pretty happy with this method.  We have the American Harvest square dehydrator with temp control and I like it a lot.

stuffedReady to Dry

5. Don’t do too much at once.
Since sausage making is pretty time consuming, it’s good to do a bunch at a time.  But doing two different 5 pound batches is a bit challenging, particularly when you are stuffing and smoking all of it.  And when I was smoking the sausages, I really had the smoker way too overloaded.  Some sausages got too hot and others were a bit slow. Not enough airflow and it was difficult to get them all up to temp.  So if I did it again, I would probably just smoke some of them and keep the rest as fresh sausages.


So all in all, I learned a lot from this round of sausage making.  And the sausages turned out great, although I think we like the chicken ones a little better.  They are right up there with some of the really good ones I’ve had like the Aidell’s version.  Not sure what we’ll try next, but each time the process seems to make a little more sense and go a little more smoothly. 

Here is the finished product:

finished2

finished

First attempt at curing and smoking bacon

In my last post I talked about making sausage.  Making bacon was my other initial charcuterie project.  It’s not that hard, but it takes more time (in duration, not effort) to complete.  You also need some special ingredients, mainly pink salt.  Pink salt is salt that contains sodium nitrate.  It is colored pink because it looks just like regular salt and you don’t want to accidently use it like regular salt, because in large quantities it is toxic.  But you actually use very little at a time to cure meat, so it’s perfectly fine that way.  The purpose is to inhibit unwanted bacterial growth, particularly the kind that cause botulism. I got my pink salt, as well as sausage casings from Butcher and Packer, which is one of the sources recommended in the Ruhlman Charcuterie book.

The most important thing when making bacon is starting with great meat and I got my pork belly from Maple Wind Farm.  It was a nice thick cut, coming in at a little over 8 lbs.

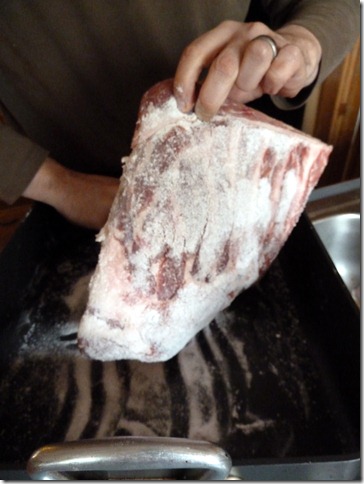
P1000911

The first step is the curing process, which takes place in the fridge and takes about a week, depending on the size and thickness of the meat. I did two variations on the basic cure in the Charcuturie book, one a sweeter cure with real Vermont maple syrup and one a savory cure with peppercorns, garlic and bay leaves.


Here is the cured bacon ready to rest in the fridge.

P1000915

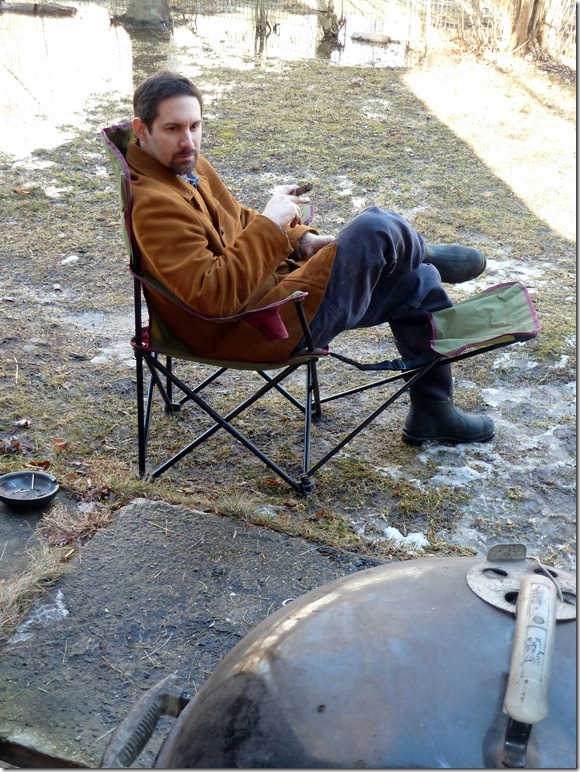
I decided to go ahead and smoke the bacon.  Fortunately the Saturday I picked worked out, even though it was March.  It was quite a nice day, although it got chilly towards the end of the process.  As you can see, it’s quite hard work.

P1000921

As smokers (at least decent ones) can get rather expensive and I’m just starting out, I decided to try something I found on AmazingRibs.com. There is a device called a Smokenator that turns an ordinary Weber kettle grill into a smoker.  Since I already have a Weber, it seemed worth a shot.

I have to say it worked pretty well.  I got a Maverick Two-In-One Oven and Roasting Digital Thermometer with Timer as well to monitor it.  This thermometer combines a probe that goes into the meat with a sensor on the top of the probe to monitor the air temperature of the oven or grill.  Pretty nifty.

I took an hour or so to “practice” and try to determine the optimal vent settings to get the temperature I was after, somewhere in the 200 degrees area.  It was actually pretty interesting how much the system settled in and stayed at the right temp.  One thing I did (recommended in the Smokenator instructions) was to use some basic binder clips around my lid.  Before I did that, I could see some smoke escaping which meant the system was airtight.

I used normal Kingsford charcoal and apple wood chips for the smoke.  I had to fiddle with it every so often to knock the ash off the coals and check the water supply, but it wasn’t much trouble at all.  Ended up taking about 3 1/2 hours all together to reach my target temperature on the bacon.

Here’s the finished product.

P1000922

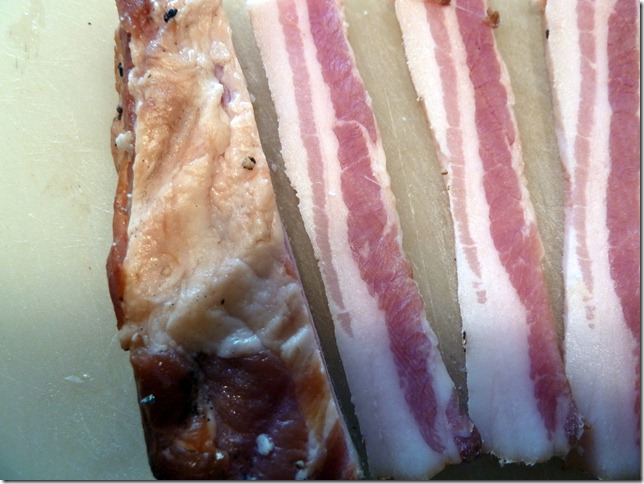
After slicing.  Check out the nice pink color.

P1000927

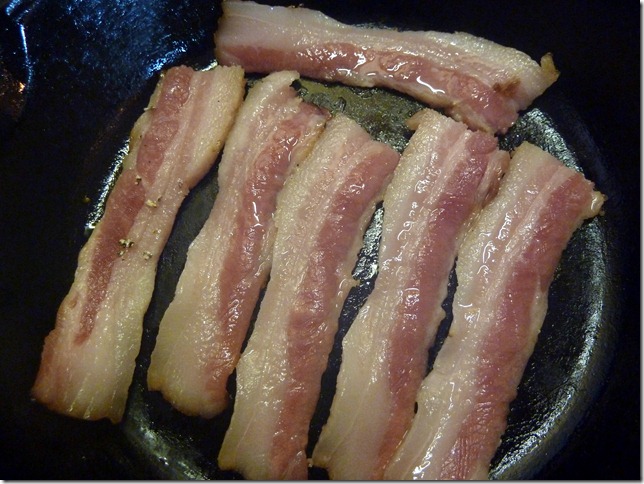
And here’s what it looks like in the pan.

P1000928

All in all, it turned out very tasty.  I could use a bit more maple flavor in the sweet cure.  This bacon is not super salty, but I’m actually okay with that since I have high blood pressure and need to watch salt and fat intake anyway.  Watching the fat intake is going to be difficult with this tasty stuff, but at least I know everything that went into it.

First attempt at making sausage

I’ve been wanting to start learning how to make charcuterie (sausage, cured/smoked meats, bacon, etc.) as part of our overall trek towards growing and creating as much of our own food as possible.  We also may raise our own hogs at some point.  I got the Michael Ruhlman Charcuterie: The Craft of Salting, Smoking, and Curing book for Christmas and have been going through that for ideas.  I also bought Home Sausage Making: How-To Techniques for Making and Enjoying 100 Sausages at Home which is interesting for the sheer volume of ideas. Although vegetarian sausage?  I don’t think so, at least not for me.

I’ve been talking to a couple local pastured pork farmers about getting the raw materials.  The other night I took a trip over to Maple Wind Farm, about 20 minutes from here.  I picked up a whole pork belly that was just beautiful, a little over 8 lbs. and nice and thick.  Also grabbed two smaller pork shoulder roasts, which are really nice for making sausage.  The fat content is about 30% naturally, particularly when you buy heritage pastured breeds, which is perfect for sausage.  They had just gotten some lamb back from the butcher, so I got some of that as well.  Certainly more expensive than super market meat, but for good reason.  Better breeds, better feed, better living conditions and a lot more care goes into the animal husbandry.  It’s money well spent to me, both to know exactly what I’m getting and the quality of the meat.  If you are going to go to the trouble of making your own charcuterie, you want the highest quality meat you can get because the end result is only as good as the raw materials.

I made my first batch of about 3 lbs. of sausage last weekend, using the basic breakfast sausage recipe from the “Charcuterie” book.  It’s an interesting recipe, full of lots of fresh ginger, sage and garlic. You end up with a very clean tasting sausage, full of lively flavors.  I’m not sure I want it all the time as I like a spicier, more peppery sausage most of the time, but it turned out to be quite tasty.

Here are some pictures of the process.

P1000898

A few years ago we found an antique meat/food grinder in New Glarus, WI.  I think it is World War II era as the instructions mention a certain part is not available during the war (I guess due to metal rationing).  Kinda cool. One reason I bought it was the possibility of making sausage, plus I really love old kitchen tools. Particularly ones that don’t require electric.

P1000899

Everything you use has to be super cold, including the grinder if possible.

P1000902

The grinder set up and ready to go. You grind into a bowl or tray that is set in ice.  Once again, think cold, cold, cold.

P1000903

The season mixture, cubed and ready to grind.  This has been in the freezer as well until starting to get a bit icy, but not frozen.

P1000905

The primary bind, where you add just a bit of ice water to bring it all together.  As you can see, the grinder didn’t do a terribly fine grind.  I was a bit worried about this, but it came together just fine. A bit smaller would be nice, but this works.

P1000904

Quality control. It’s good to fry up a taster portion just to make sure the spices are where you want them.  You can still add a bit more spice or other ingredients at this point.

So now that I understand the basic process a little bit, the next step is to try stuffing the sausage into casings and try some other recipes.  There is a chicken sausage recipe that looks awfully good…

Farming Resources

As many of you know, Kristin and I have spent at least the last 5 years learning all we can about sustainable living, gardening, small-scale farming and homesteading.  Over that time we’ve found lots of great resources we like, good books and web sites of interest.  I’m slowly collecting all those in a new section on my web site called Farming.  I think there is going to be a good amount of information for anybody interested in similar things, so check it out if you are interested or mention it to anybody who you think might find it cool.

swartzentruber.net Farming Resources